从零构建基于以太坊(Ethereum)钱包Parity联盟链


什么情况下可以建立自己测试用的PoA chain?
- 公司内网或无对外网络,无法同步区块
- 降低测试时等待区块的时间
- 不想碰到testrpc各种雷
PoA Chain特点有
-
有别于
PoW(Proof-of-Work)需要解数学难题来产生block,PoA是依靠预设好的Authority nodes,负责产生block。 -
可依照需求设定
Authority node数量。 -
可指定产生
block的时间,例如收到交易的5秒后产生block。 -
一般的
Ethereum node也可以连接到PoA Chain,正常发起transactions,contracts等。
大纲
- Parity钱包下载安装
- 设置chain spec
- 设置两个节点
- 设置账号(Account)
- 启动Authority node
- 连接两个节点
- 发送交易
- 分享给其他节点
一、Parity钱包下载安装
之前的教程中我们讲解了Mist钱包、MetaMask、myetherwallet钱包,这篇教程中,我们系统介绍一下Parity钱包的使用,为下一篇文章中联盟链搭建做铺垫。
Parity钱包下载安装 https://parity.io 。
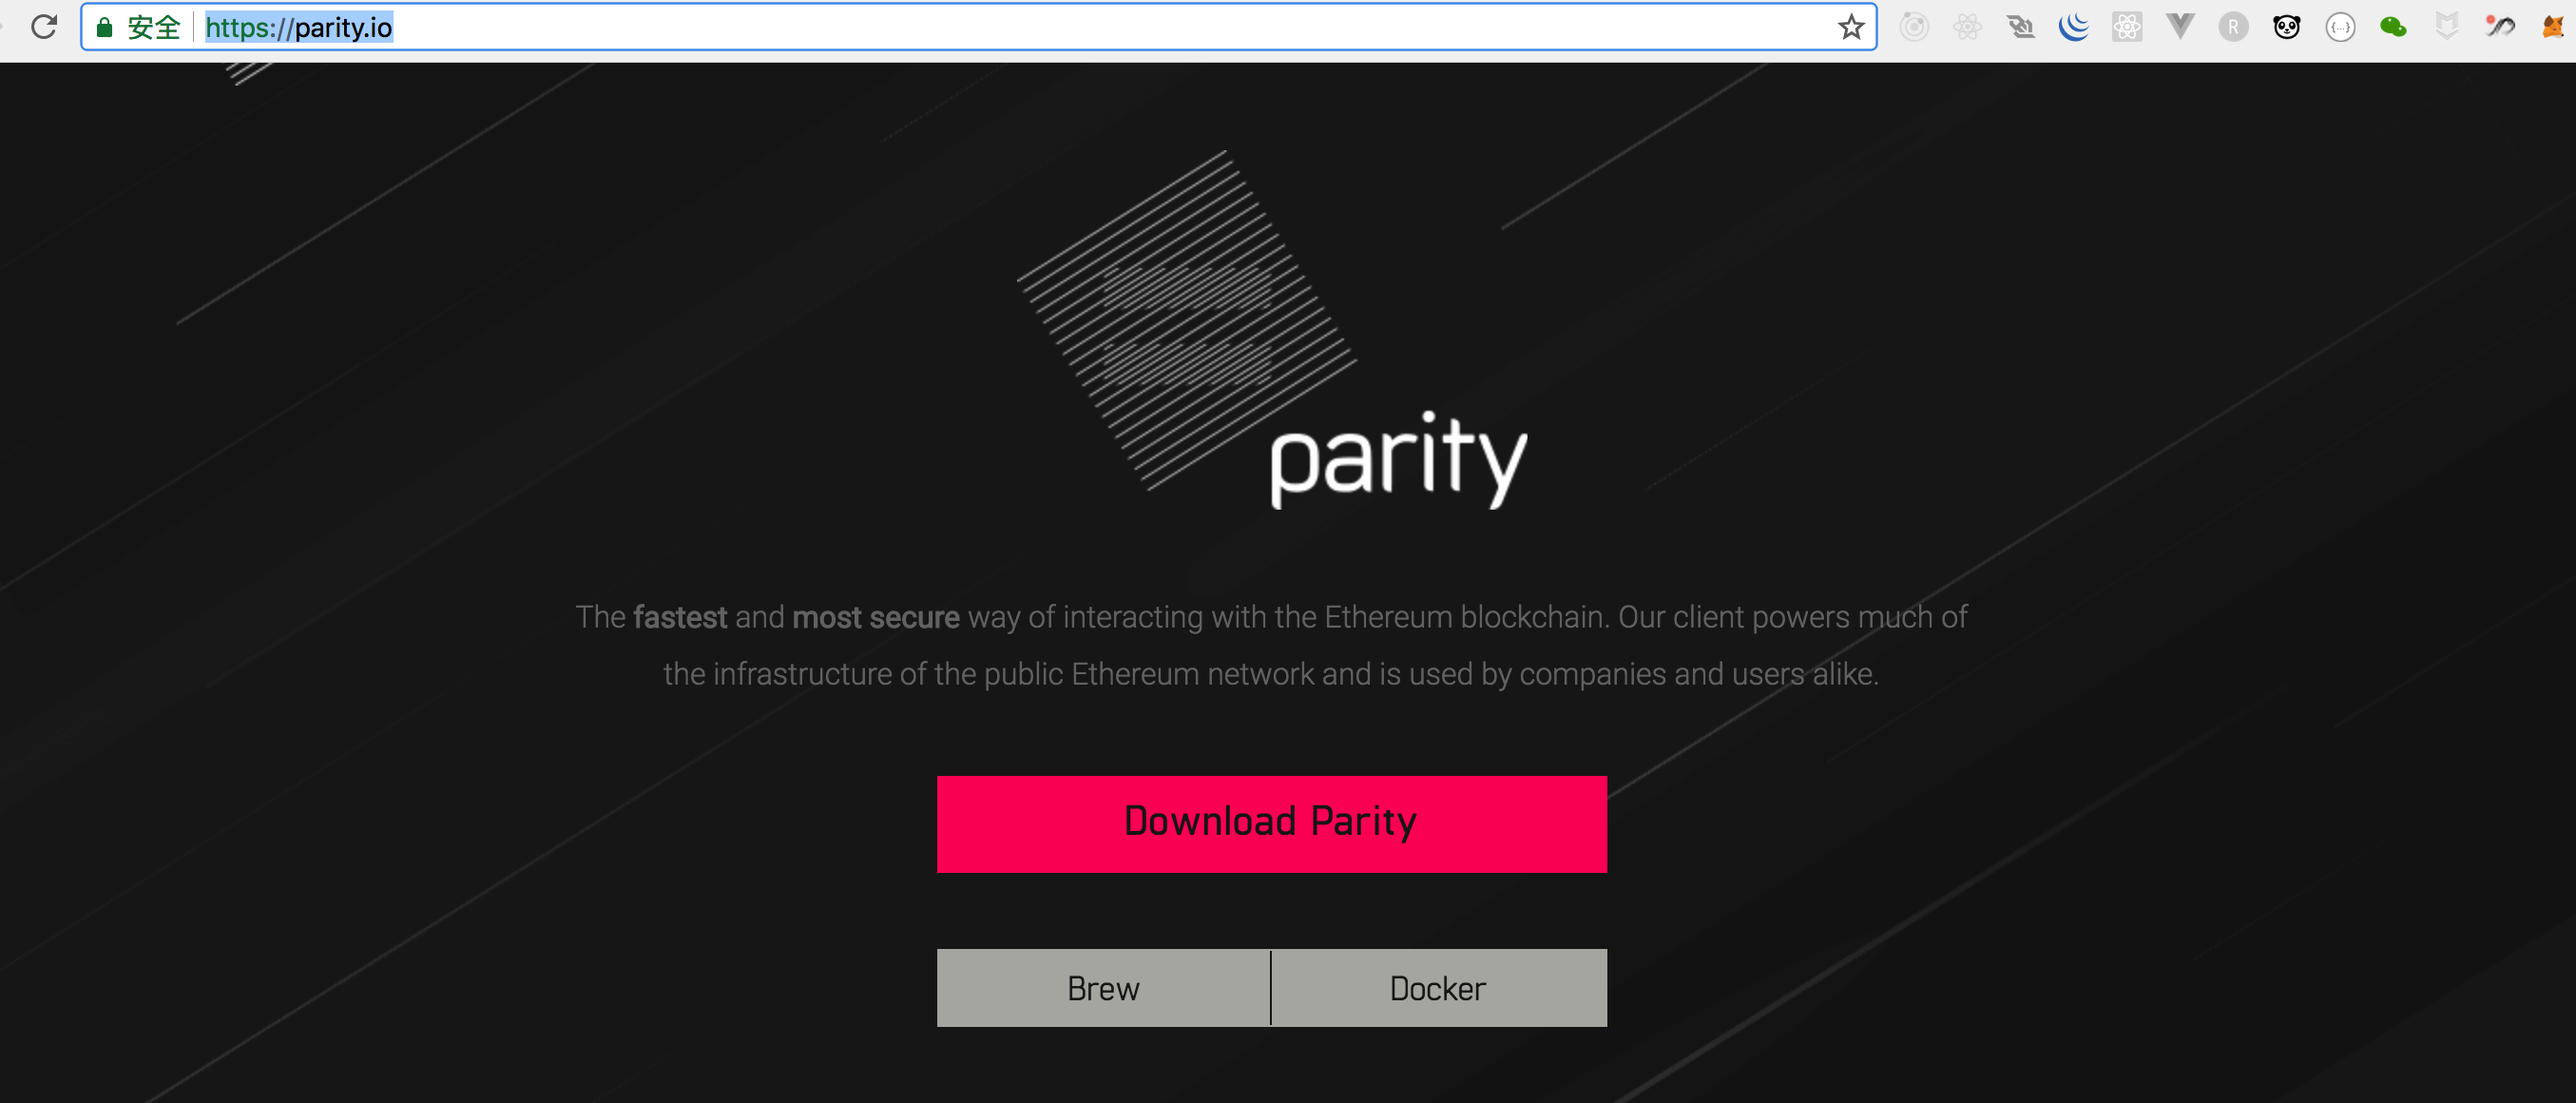
如官网所示,
The fastest and most secure way of interacting with the Ethereum blockchain
Parity
是最快最安全的钱包。
打开官网,我们看到有三种安装方式,第一种,直接下载安装,第二种,
Brew
安装,第三种,
Docker
安装。
在我们案例中,我们通过
Brew
来进行安装。
1、Getting Homebrew
/usr/bin/ruby -e "$(curl -fsSL https://raw.githubusercontent.com/Homebrew/install/master/install)"2、Adding Parity to your list of Homebrew 'kegs'
打开终端,输入下面的命令,按enter。brew tap paritytech/paritytech3、Installing Parity
- 稳定版
brew install parity --stable- 最新版
brew install parity- 最新开发版
brew install parity --master- 更新最新版本
brew update && brew upgrade paritybrew reinstall parity4、查看安装版本
liyuechun:~ yuechunli$ parity --versionParity version Parity/v1.8.2-beta-1b6588c-20171025/x86_64-macos/rustc1.21.0Copyright 2015, 2016, 2017 Parity Technologies (UK) LtdLicense GPLv3+: GNU GPL version 3 or later <http://gnu.org/licenses/gpl.html>.This is free software: you are free to change and redistribute it.There is NO WARRANTY, to the extent permitted by law.By Wood/Paronyan/Kotewicz/Drwięga/Volf Habermeier/Czaban/Greeff/Gotchac/Redmann
liyuechun:~ yuechunli$
二、设置chain spec
PoA chain 需要设置一个创世区块。{ "name": "DemoPoA", "engine": { "authorityRound": { "params": { "stepDuration": "5", "validators": { "list": [
] } } } }, "params": { "gasLimitBoundDivisor": "0x0400", "maximumExtraDataSize": "0x20", "minGasLimit": "0x1388", "networkID": "0x2323" }, "genesis": { "seal": { "authorityRound": { "step": "0x0", "signature": "0x0000000000000000000000000000000000000000000000000000000000000000000000000000000000000000000000000000000000000000000000000000000000" } }, "difficulty": "0x20000", "gasLimit": "0x5B8D80" }, "accounts": { "0x0000000000000000000000000000000000000001": { "balance": "1", "builtin": { "name": "ecrecover", "pricing": { "linear": { "base": 3000, "word": 0 } } } }, "0x0000000000000000000000000000000000000002": { "balance": "1", "builtin": { "name": "sha256", "pricing": { "linear": { "base": 60, "word": 12 } } } }, "0x0000000000000000000000000000000000000003": { "balance": "1", "builtin": { "name": "ripemd160", "pricing": { "linear": { "base": 600, "word": 120 } } } }, "0x0000000000000000000000000000000000000004": { "balance": "1", "builtin": { "name": "identity", "pricing": { "linear": { "base": 15, "word": 3 } } } } }}
-
stepDuration设定成5秒产生一个区块。 -
validators设定Authority的地方,目前先空著,后面创建account之后再回来填入。
demo-spec.json
。
三、设置两个节点
在我们这篇文章中,我们在同一台电脑设置两个节点,跟我们讲解 以太坊私网建立 (2) - 同一台电脑/不同电脑运行多个节点 时,如果在同一台电脑设置两个节点,需要将
rpcport
和
port
设置为不同的值,否则就会发生冲突,POA chain中也是一样,需要将一些参数设置为不同的值。
-
-d:指定存储资料与账号的目录 -
--dport:指定 Parity 的 network port ,可用来让其他 node 连接 -
--jsonrpc-port:这是 JSON RPC port ,使用 web3.js 时会需要 -
ui-port: Parity 提供的 Web-based UI port
Parity node
。
parity --chain demo-spec.json -d parity0 --port 30300 --ui-port 8180 --jsonrpc-port 8540 --jsonrpc-apis web3,eth,net,personal,parity,parity_set,traces,rpc,parity_accounts
Parity
也提供更为简洁的
config
档案设定方式,使用
--config
即可引用配置文件。
-
node0使用如下配置文件node0.toml:
[parity]chain = "demo-spec.json"base_path = "parity0"[network]port = 30300[rpc]port = 8540apis = ["web3", "eth", "net", "personal", "parity", "parity_set", "traces", "rpc", "parity_accounts"][ui]port = 8180[websockets]port = 8456-
node1使用如下配置文件node1.toml:
[parity]chain = "demo-spec.json"base_path = "parity1"[network]port = 30301[rpc]port = 8541apis = ["web3", "eth", "net", "personal", "parity", "parity_set", "traces", "rpc", "parity_accounts"][ui]port = 8181[websockets]port = 8457四、设置账号(Account)
我们总共需要设置三个账号,两个
Authority
和一个
user
账号。
第一步:
首先启动
node0
:
parity --config node0.toml
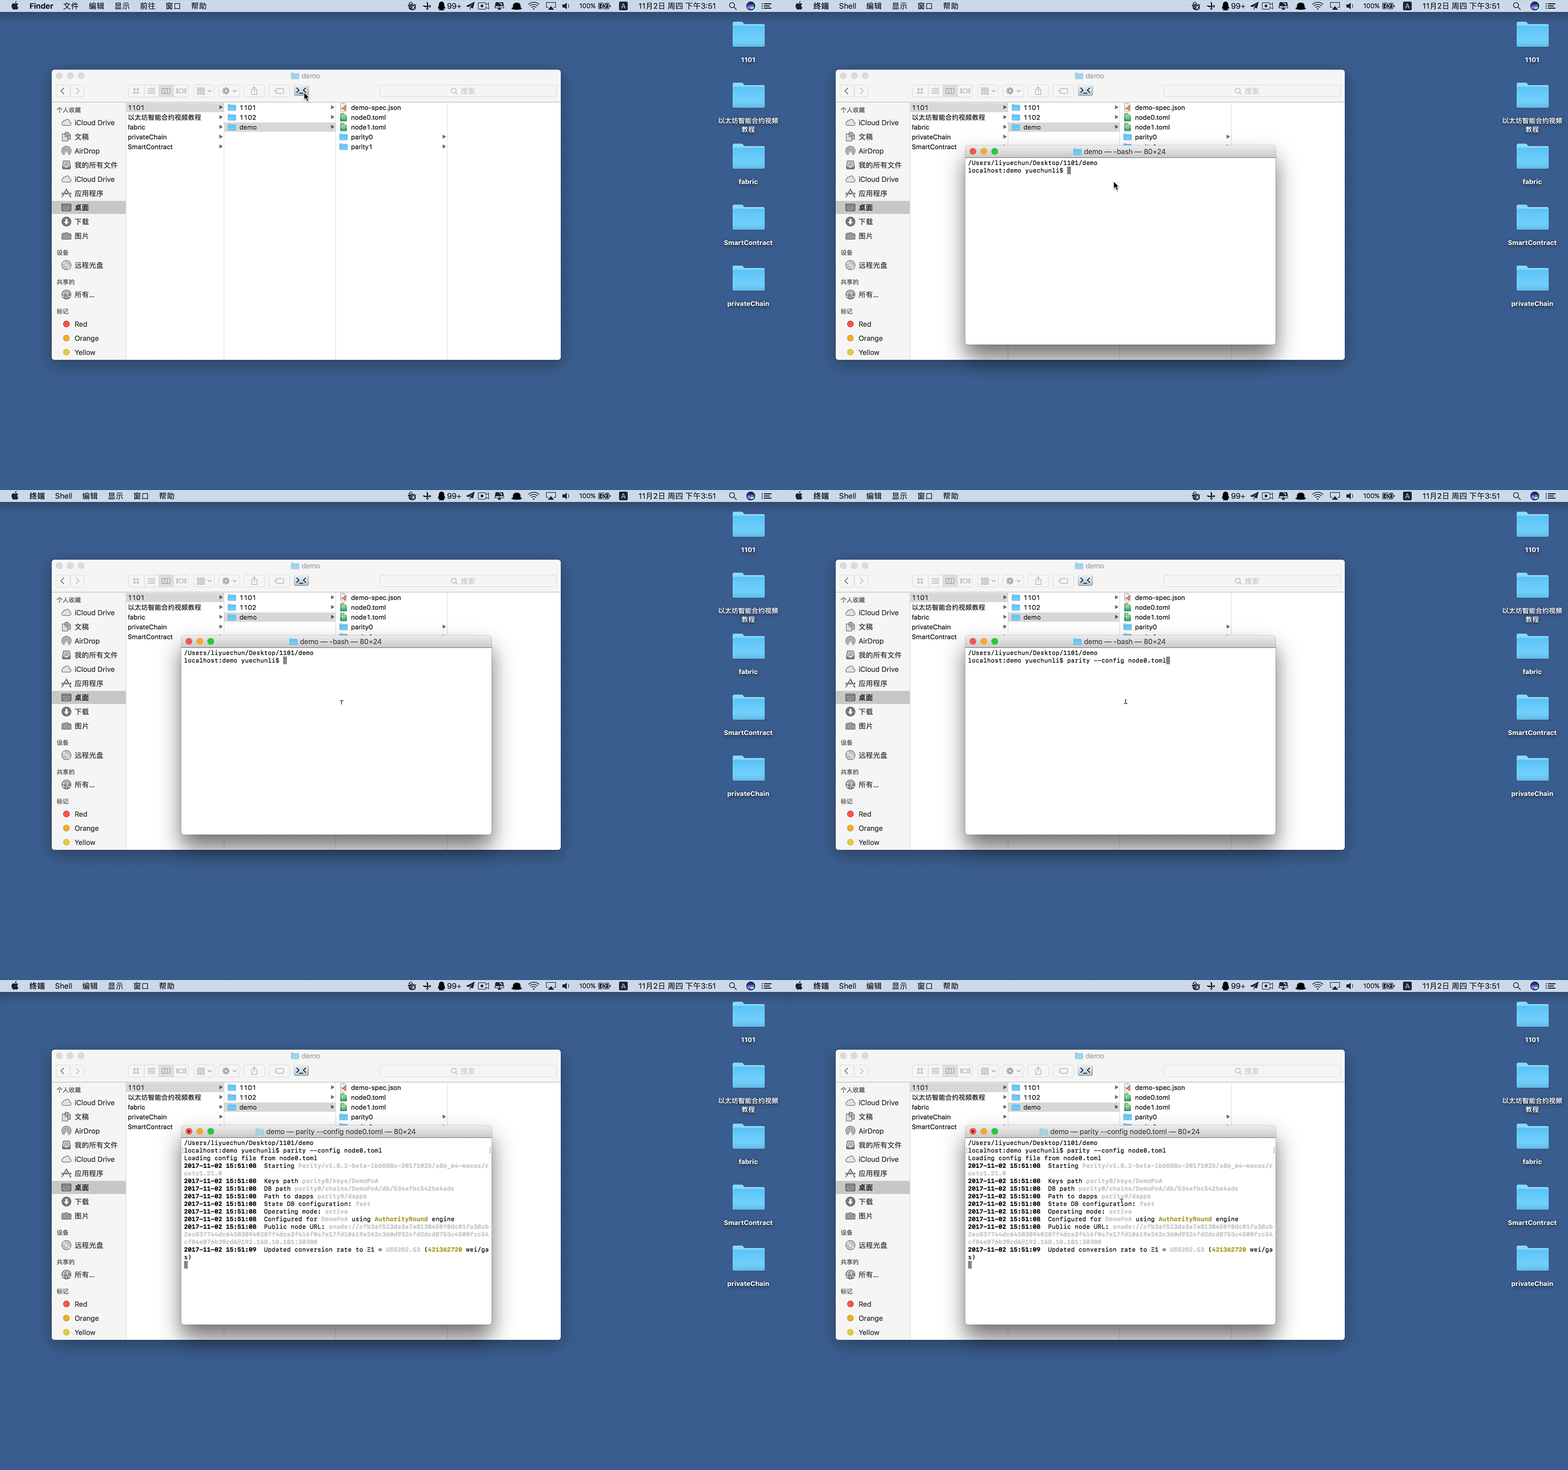
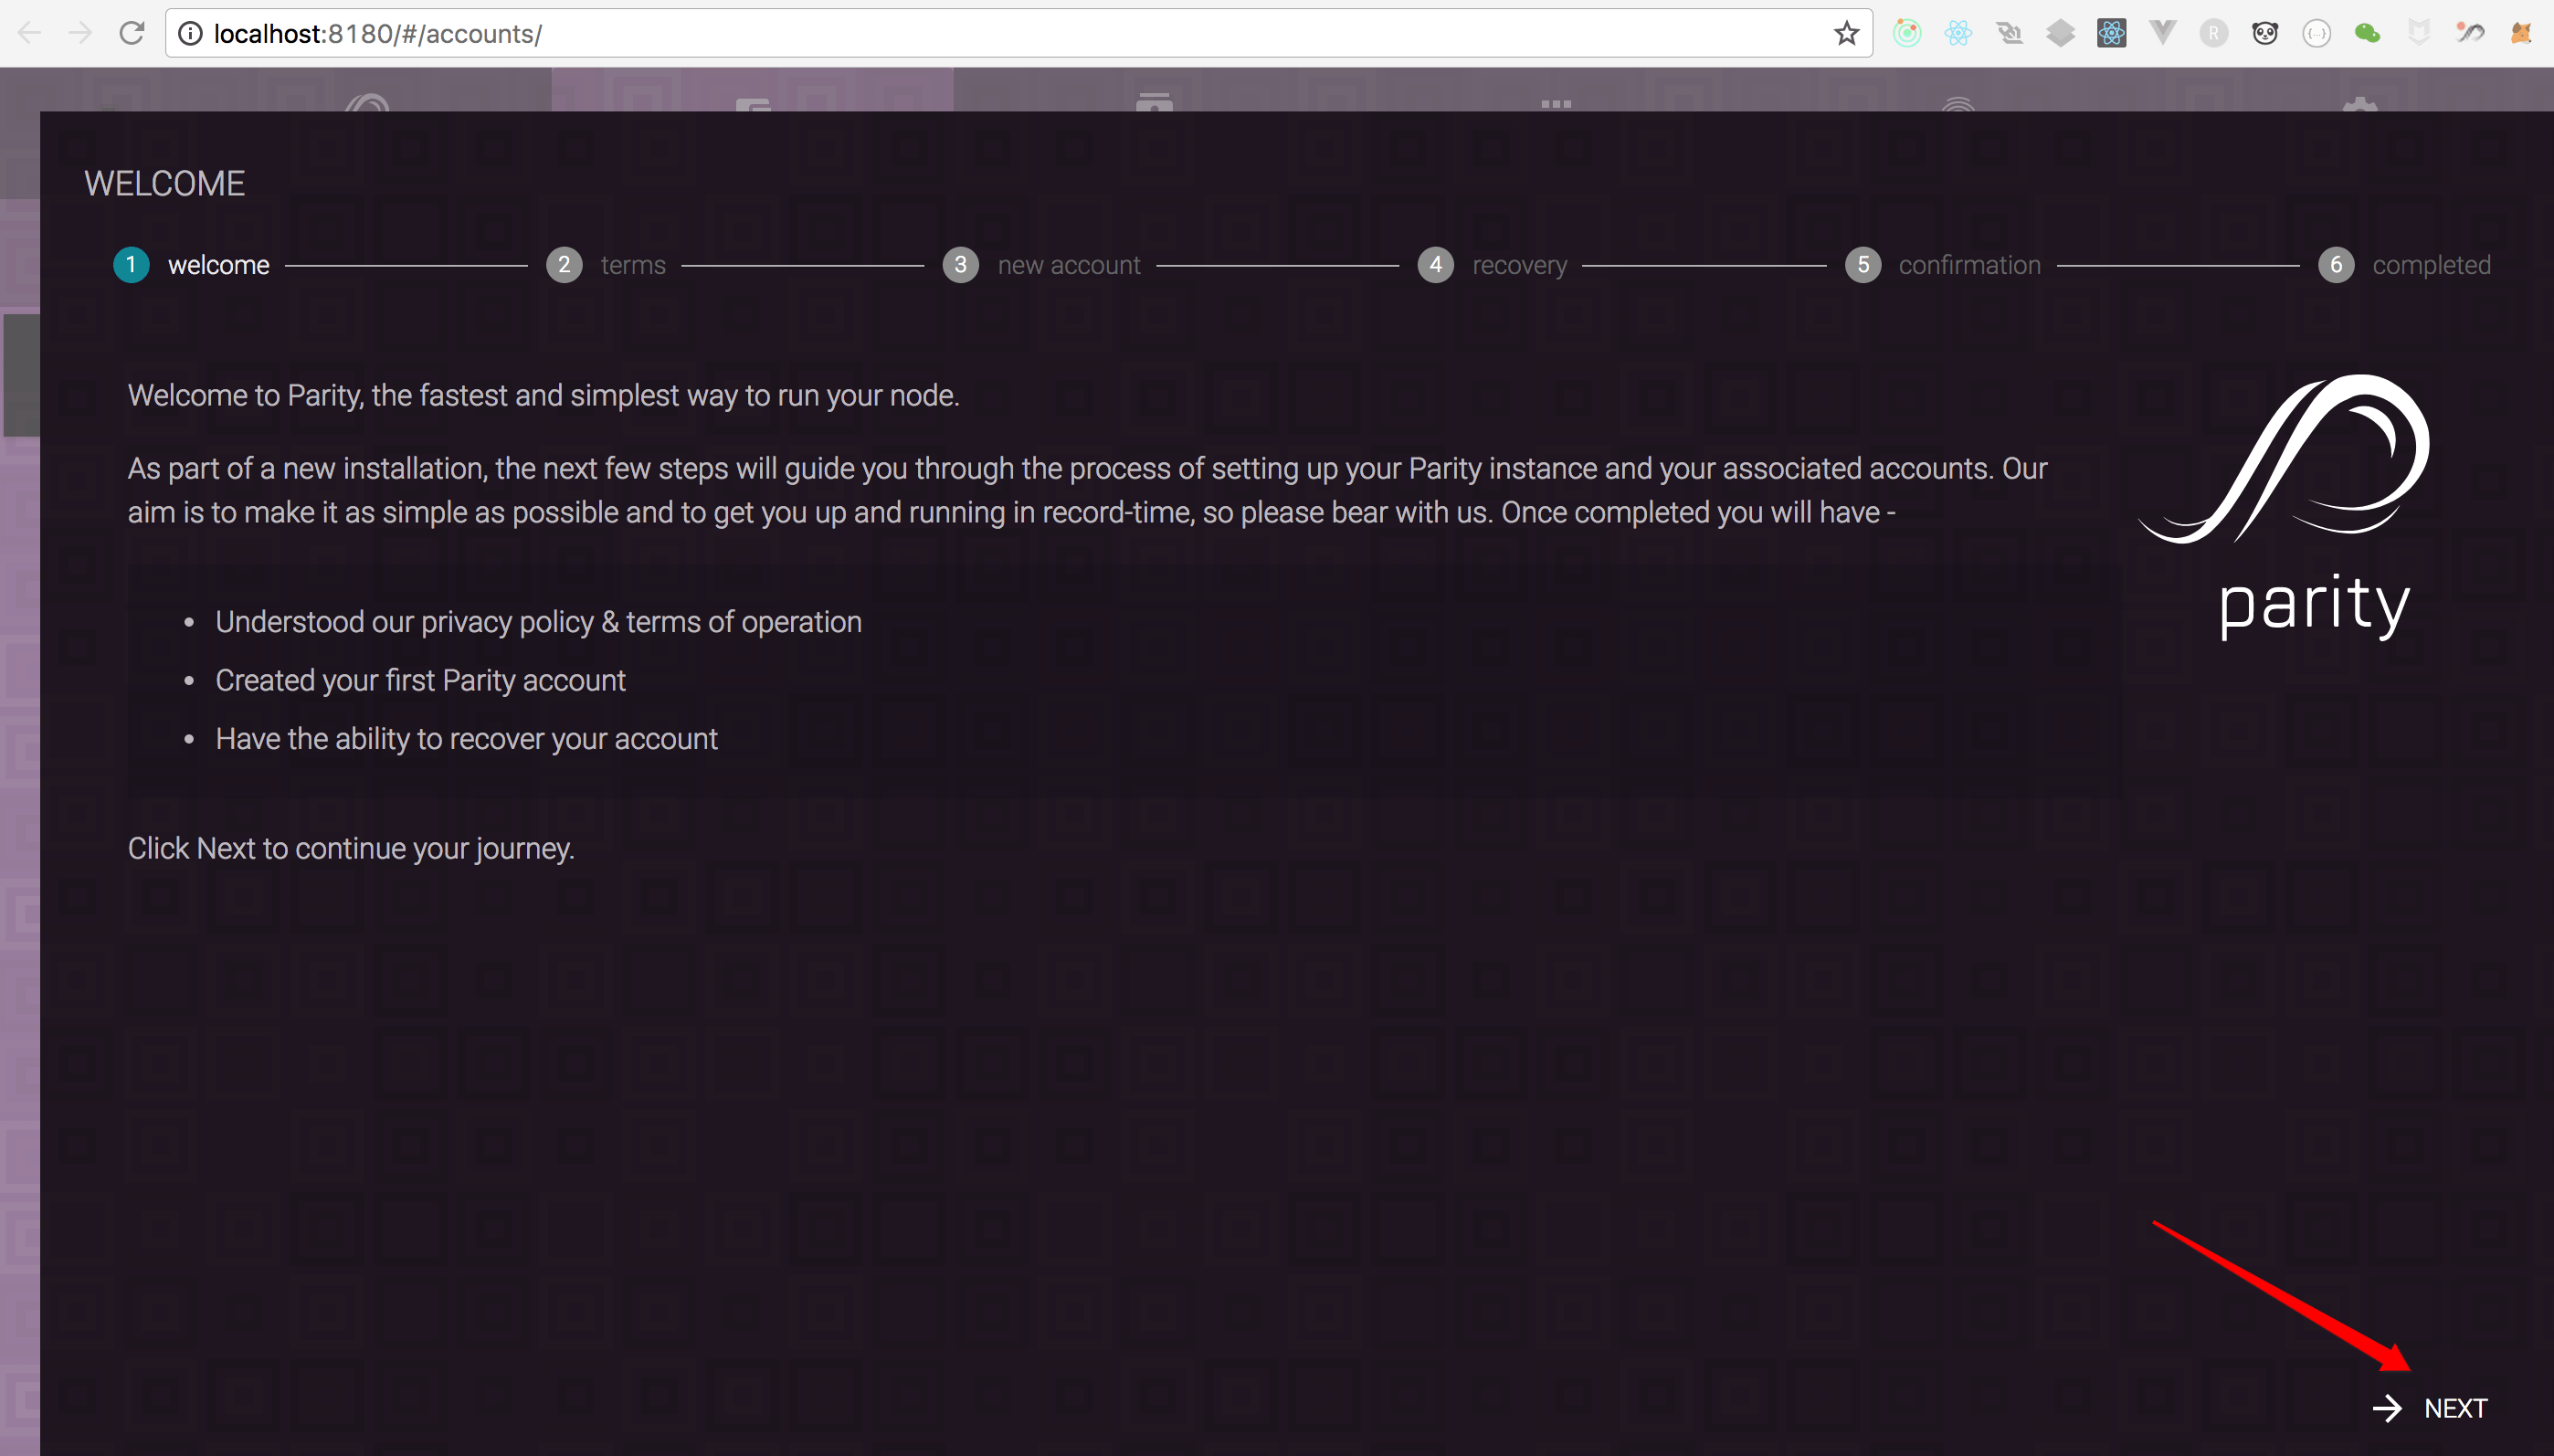
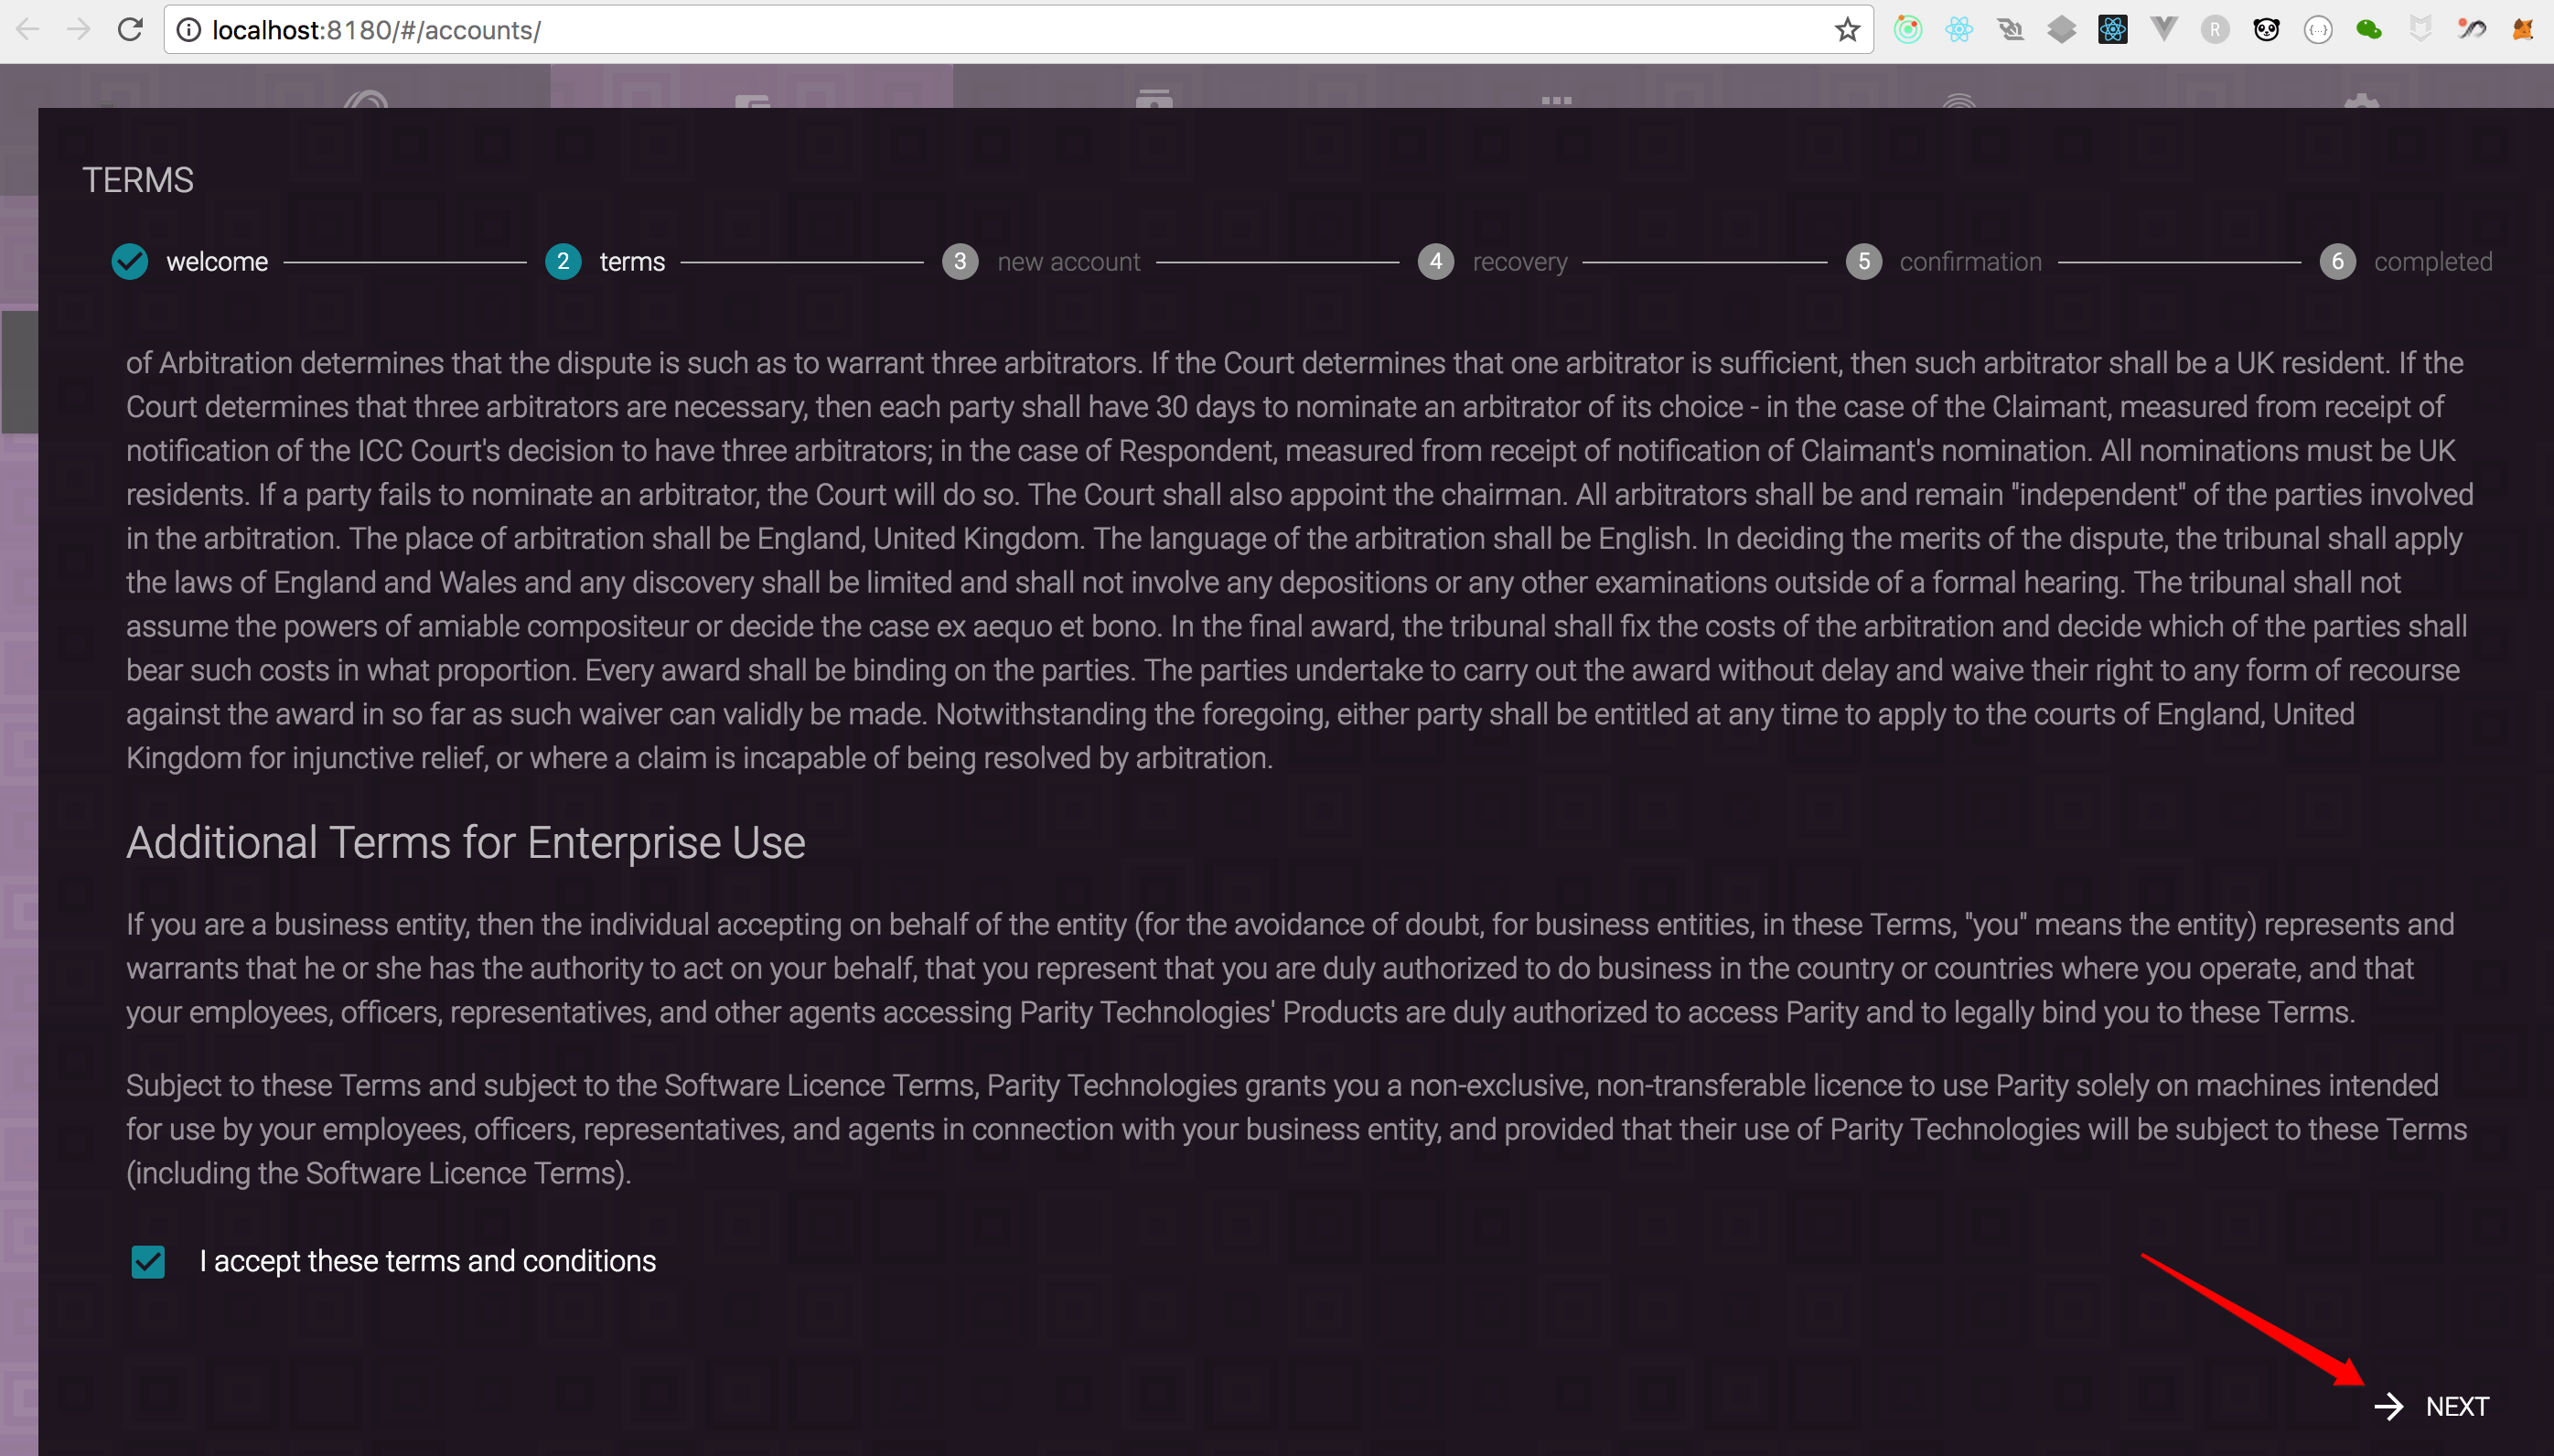
打开网页 http://localhost:8180 ,按照步骤创建一个用户账号。
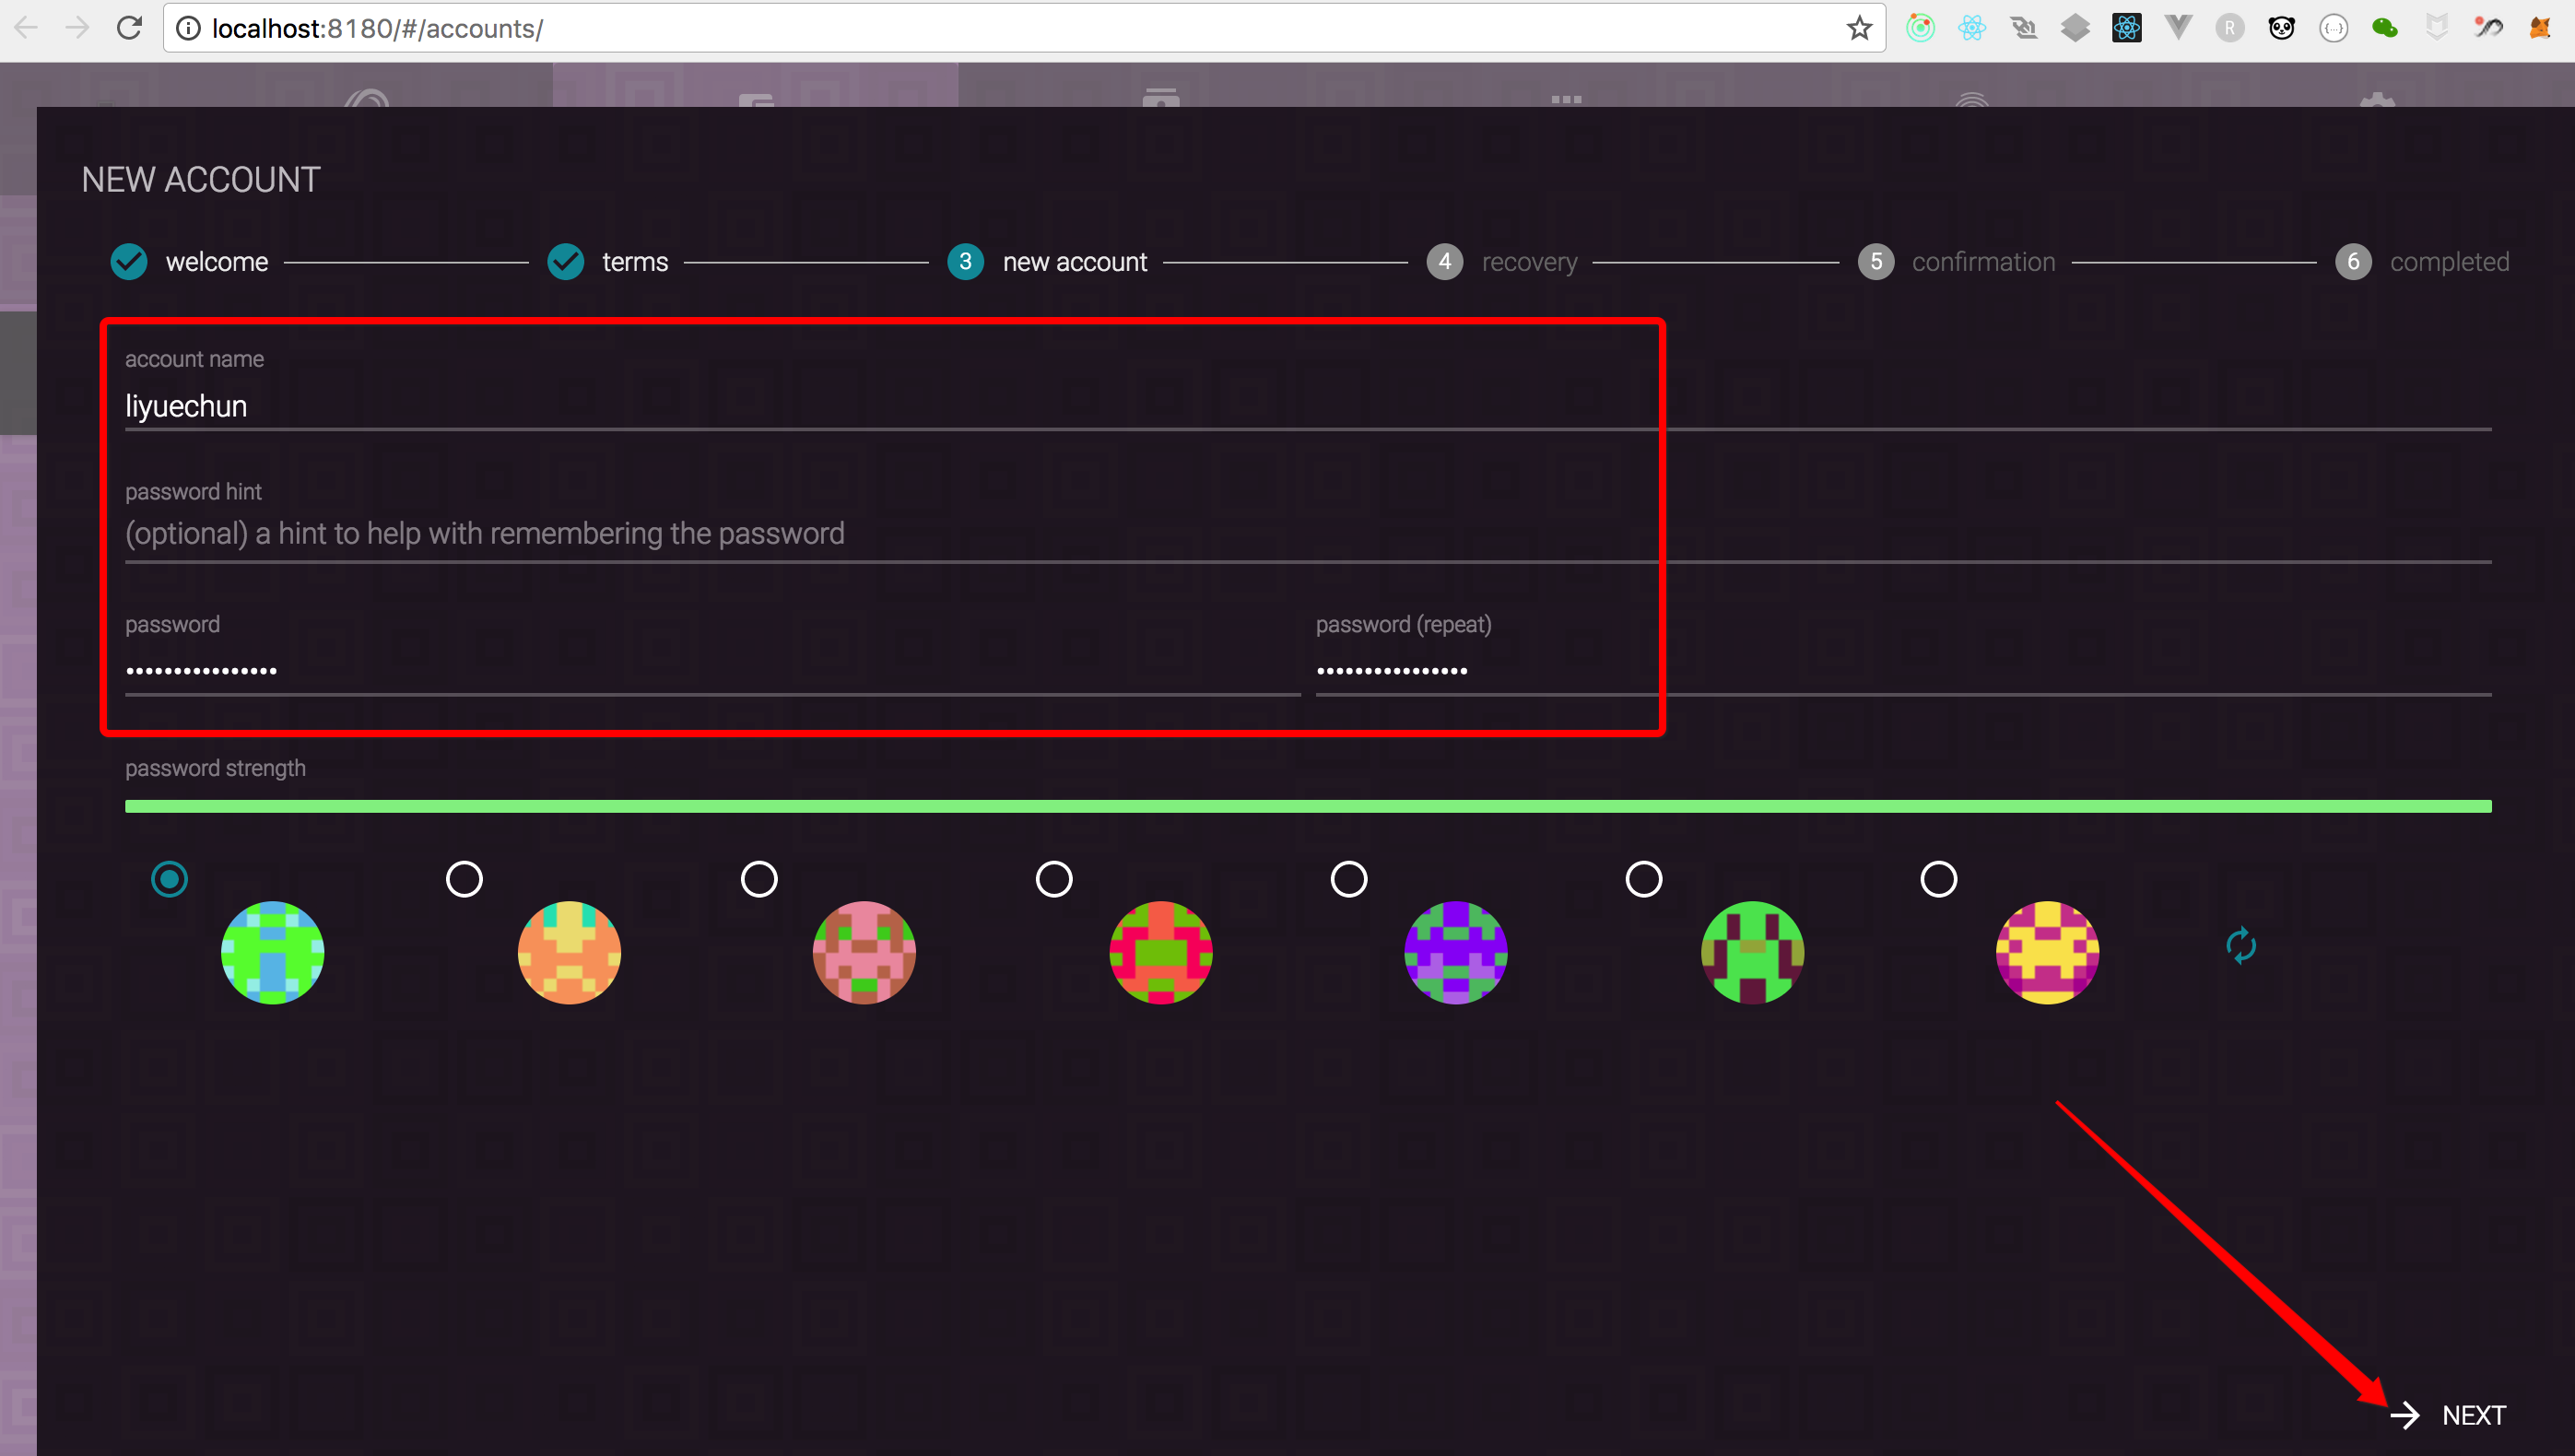
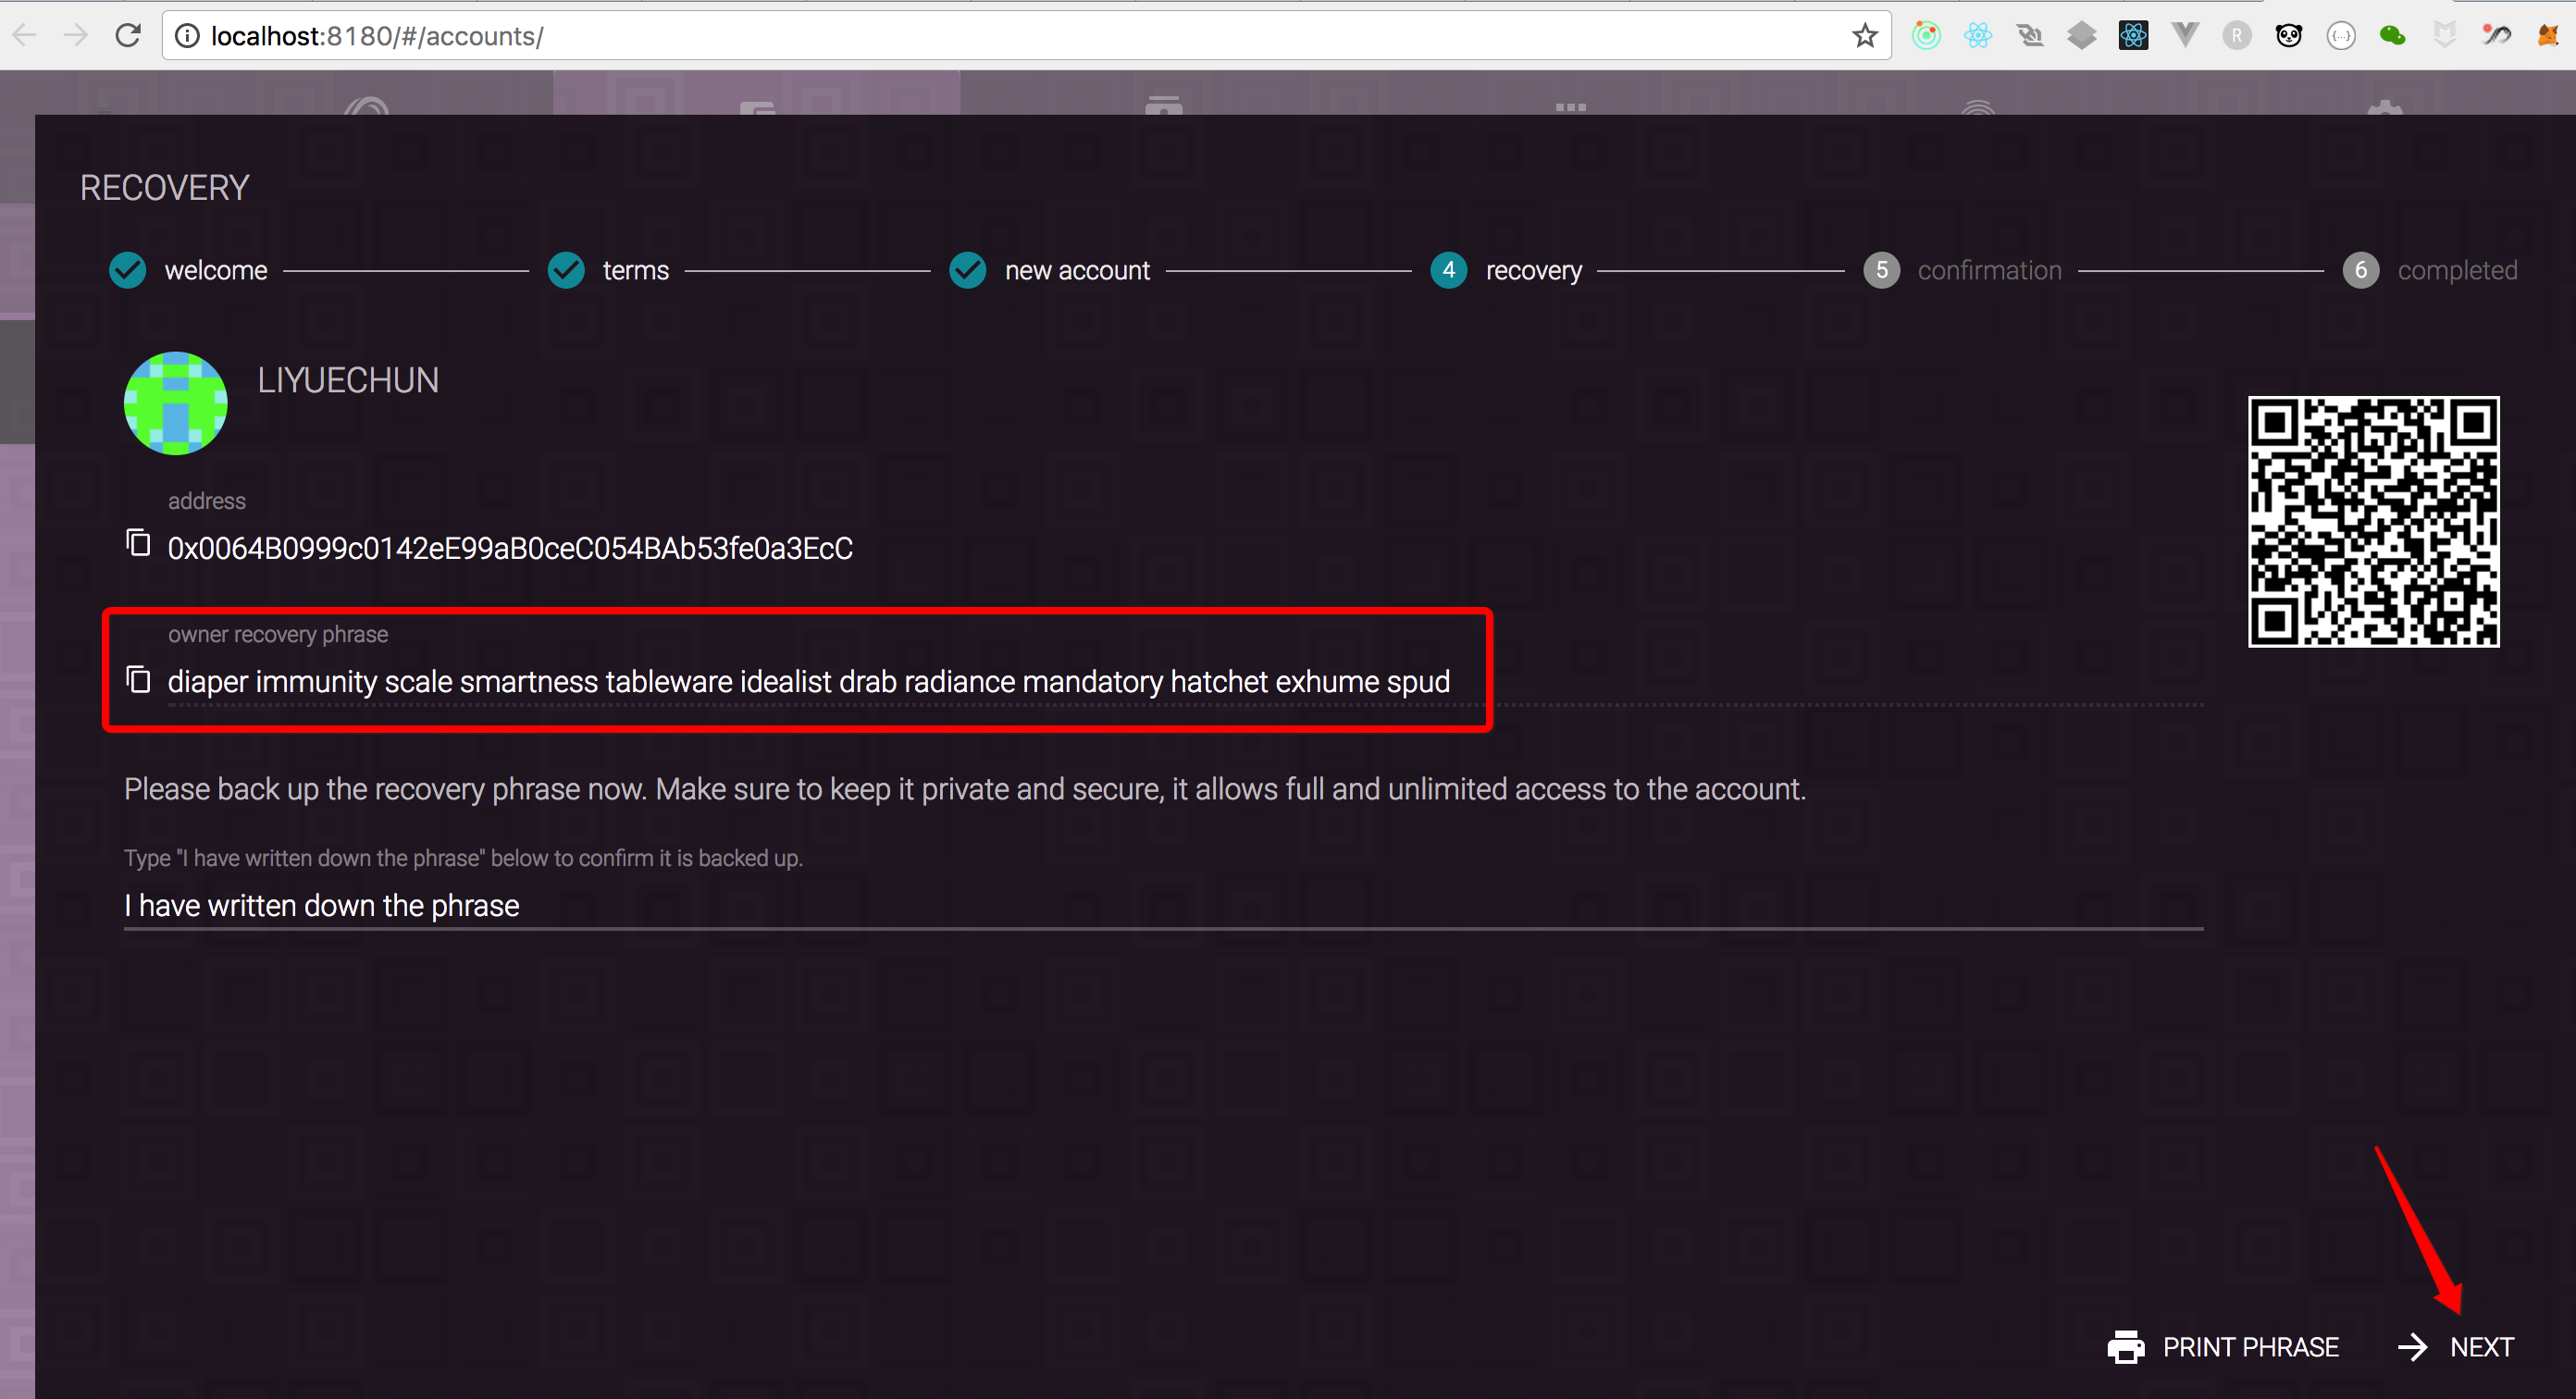
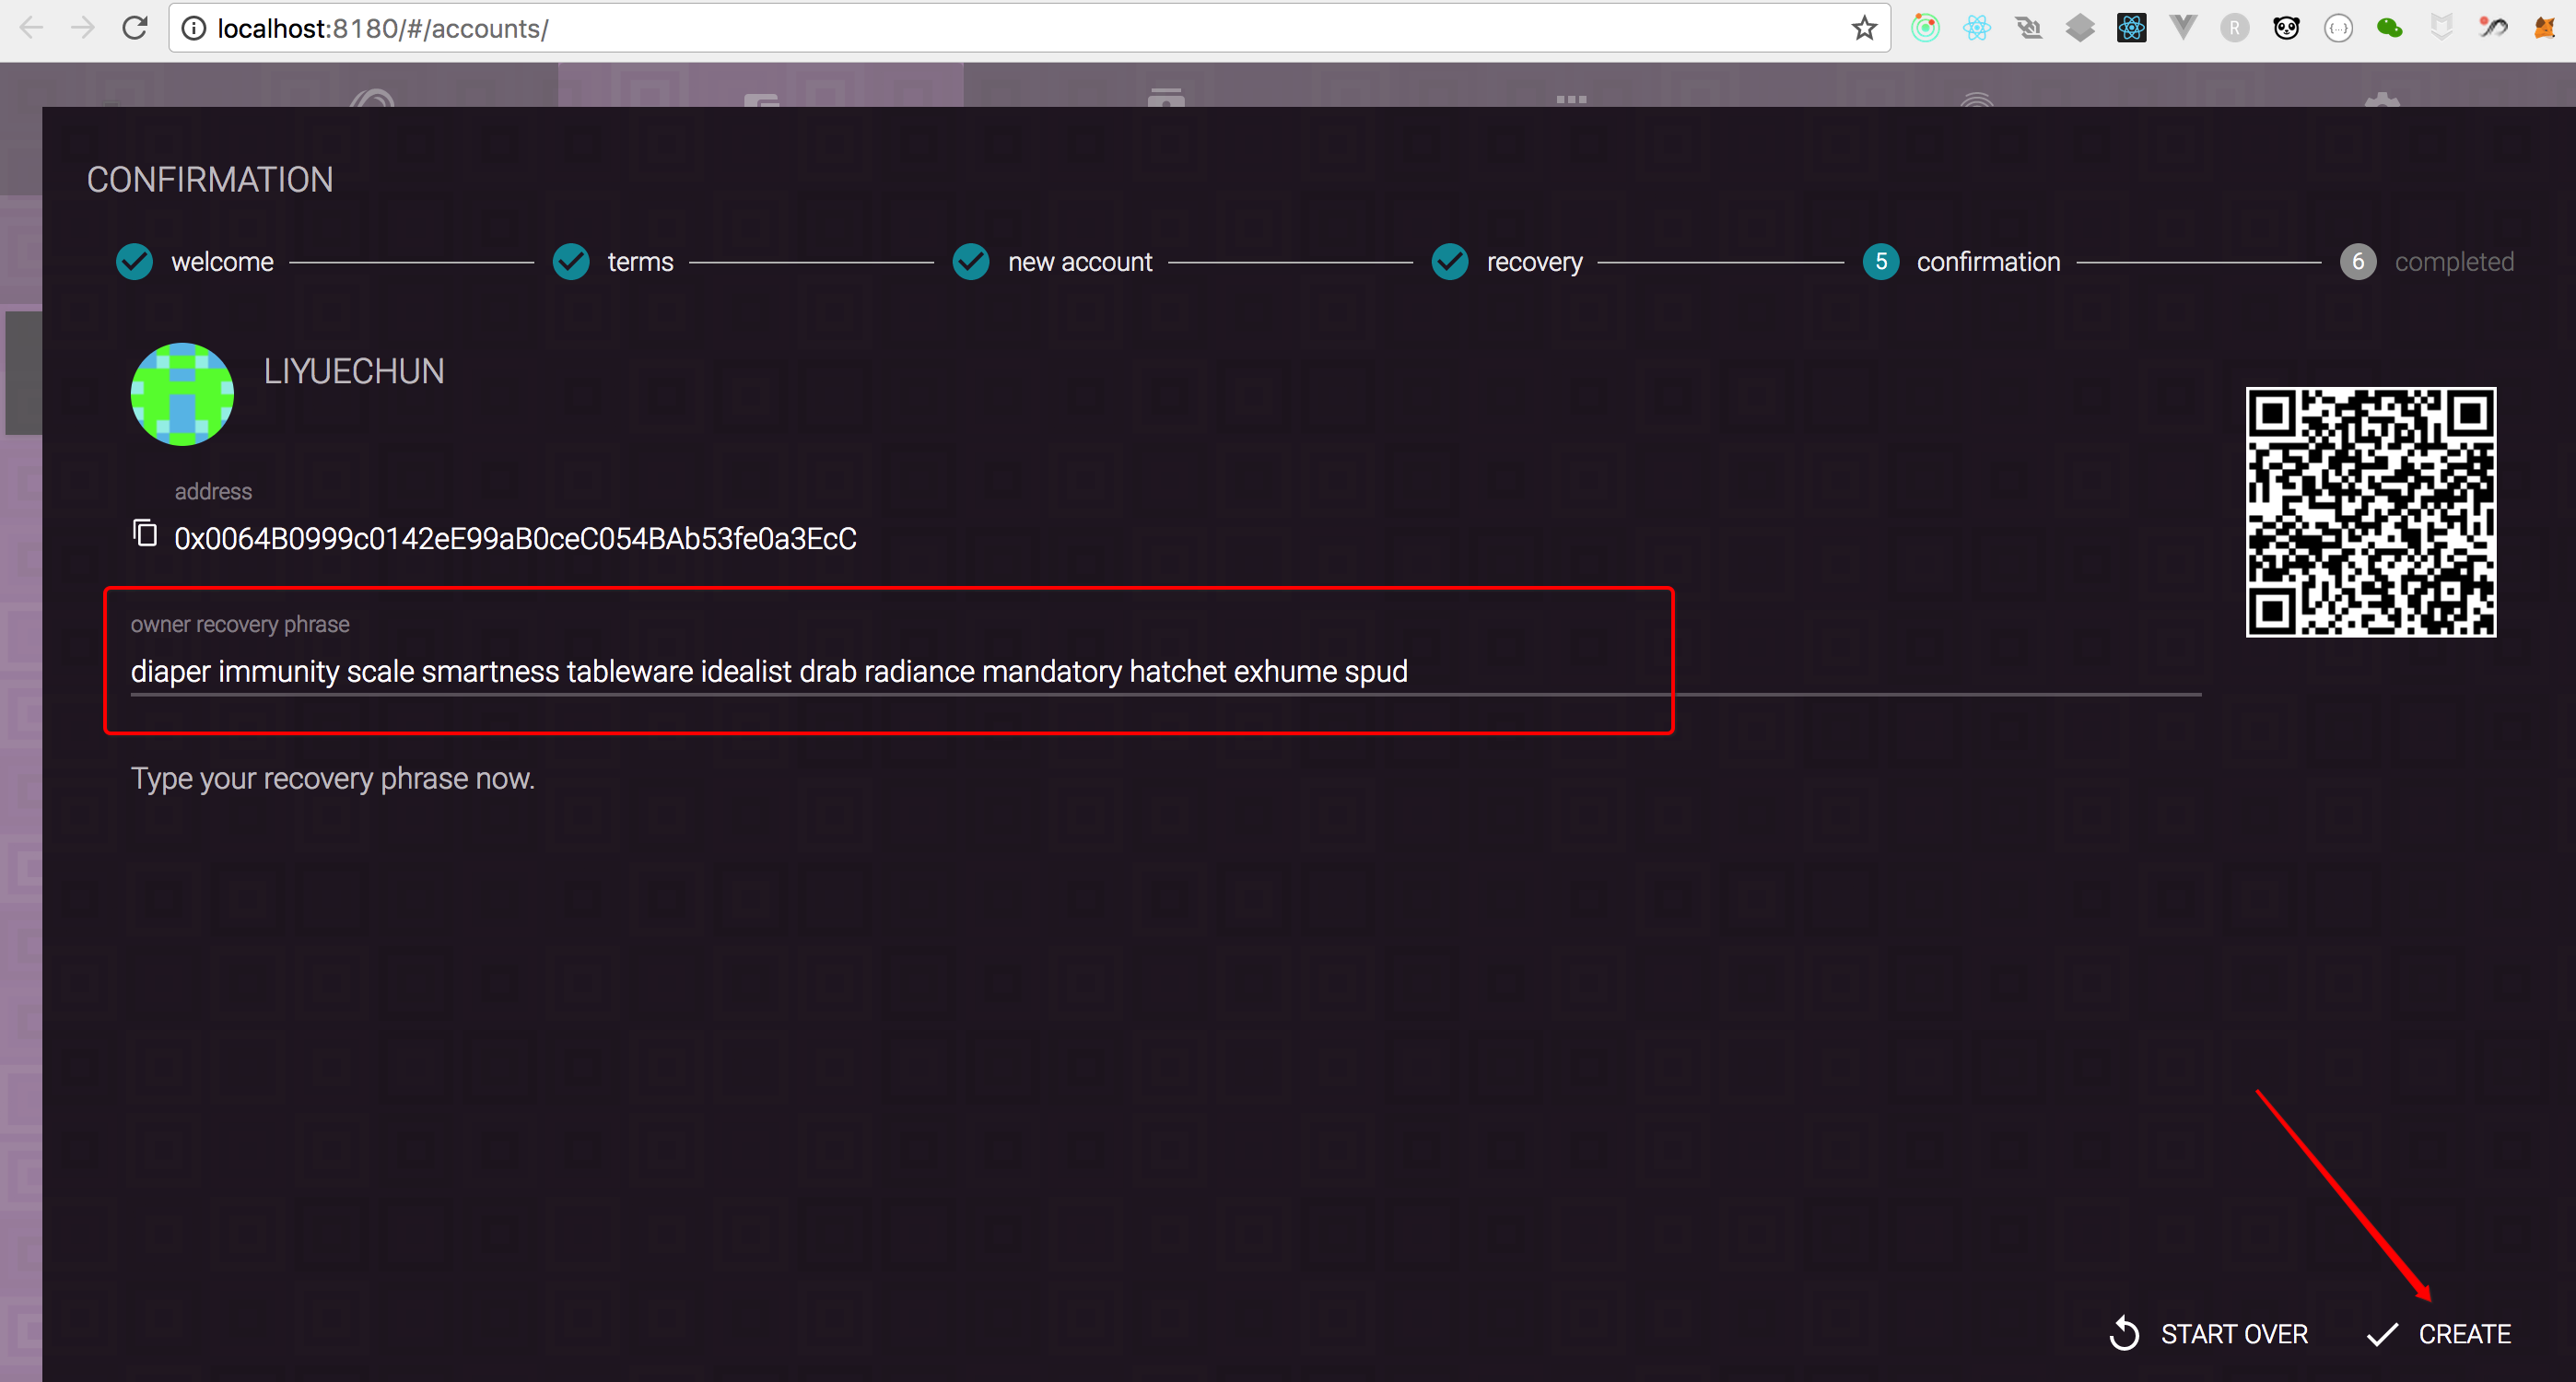

-
新增
Authority account,使用Restore功能,为了示范一致性,我们使用node0当作pass phrase。

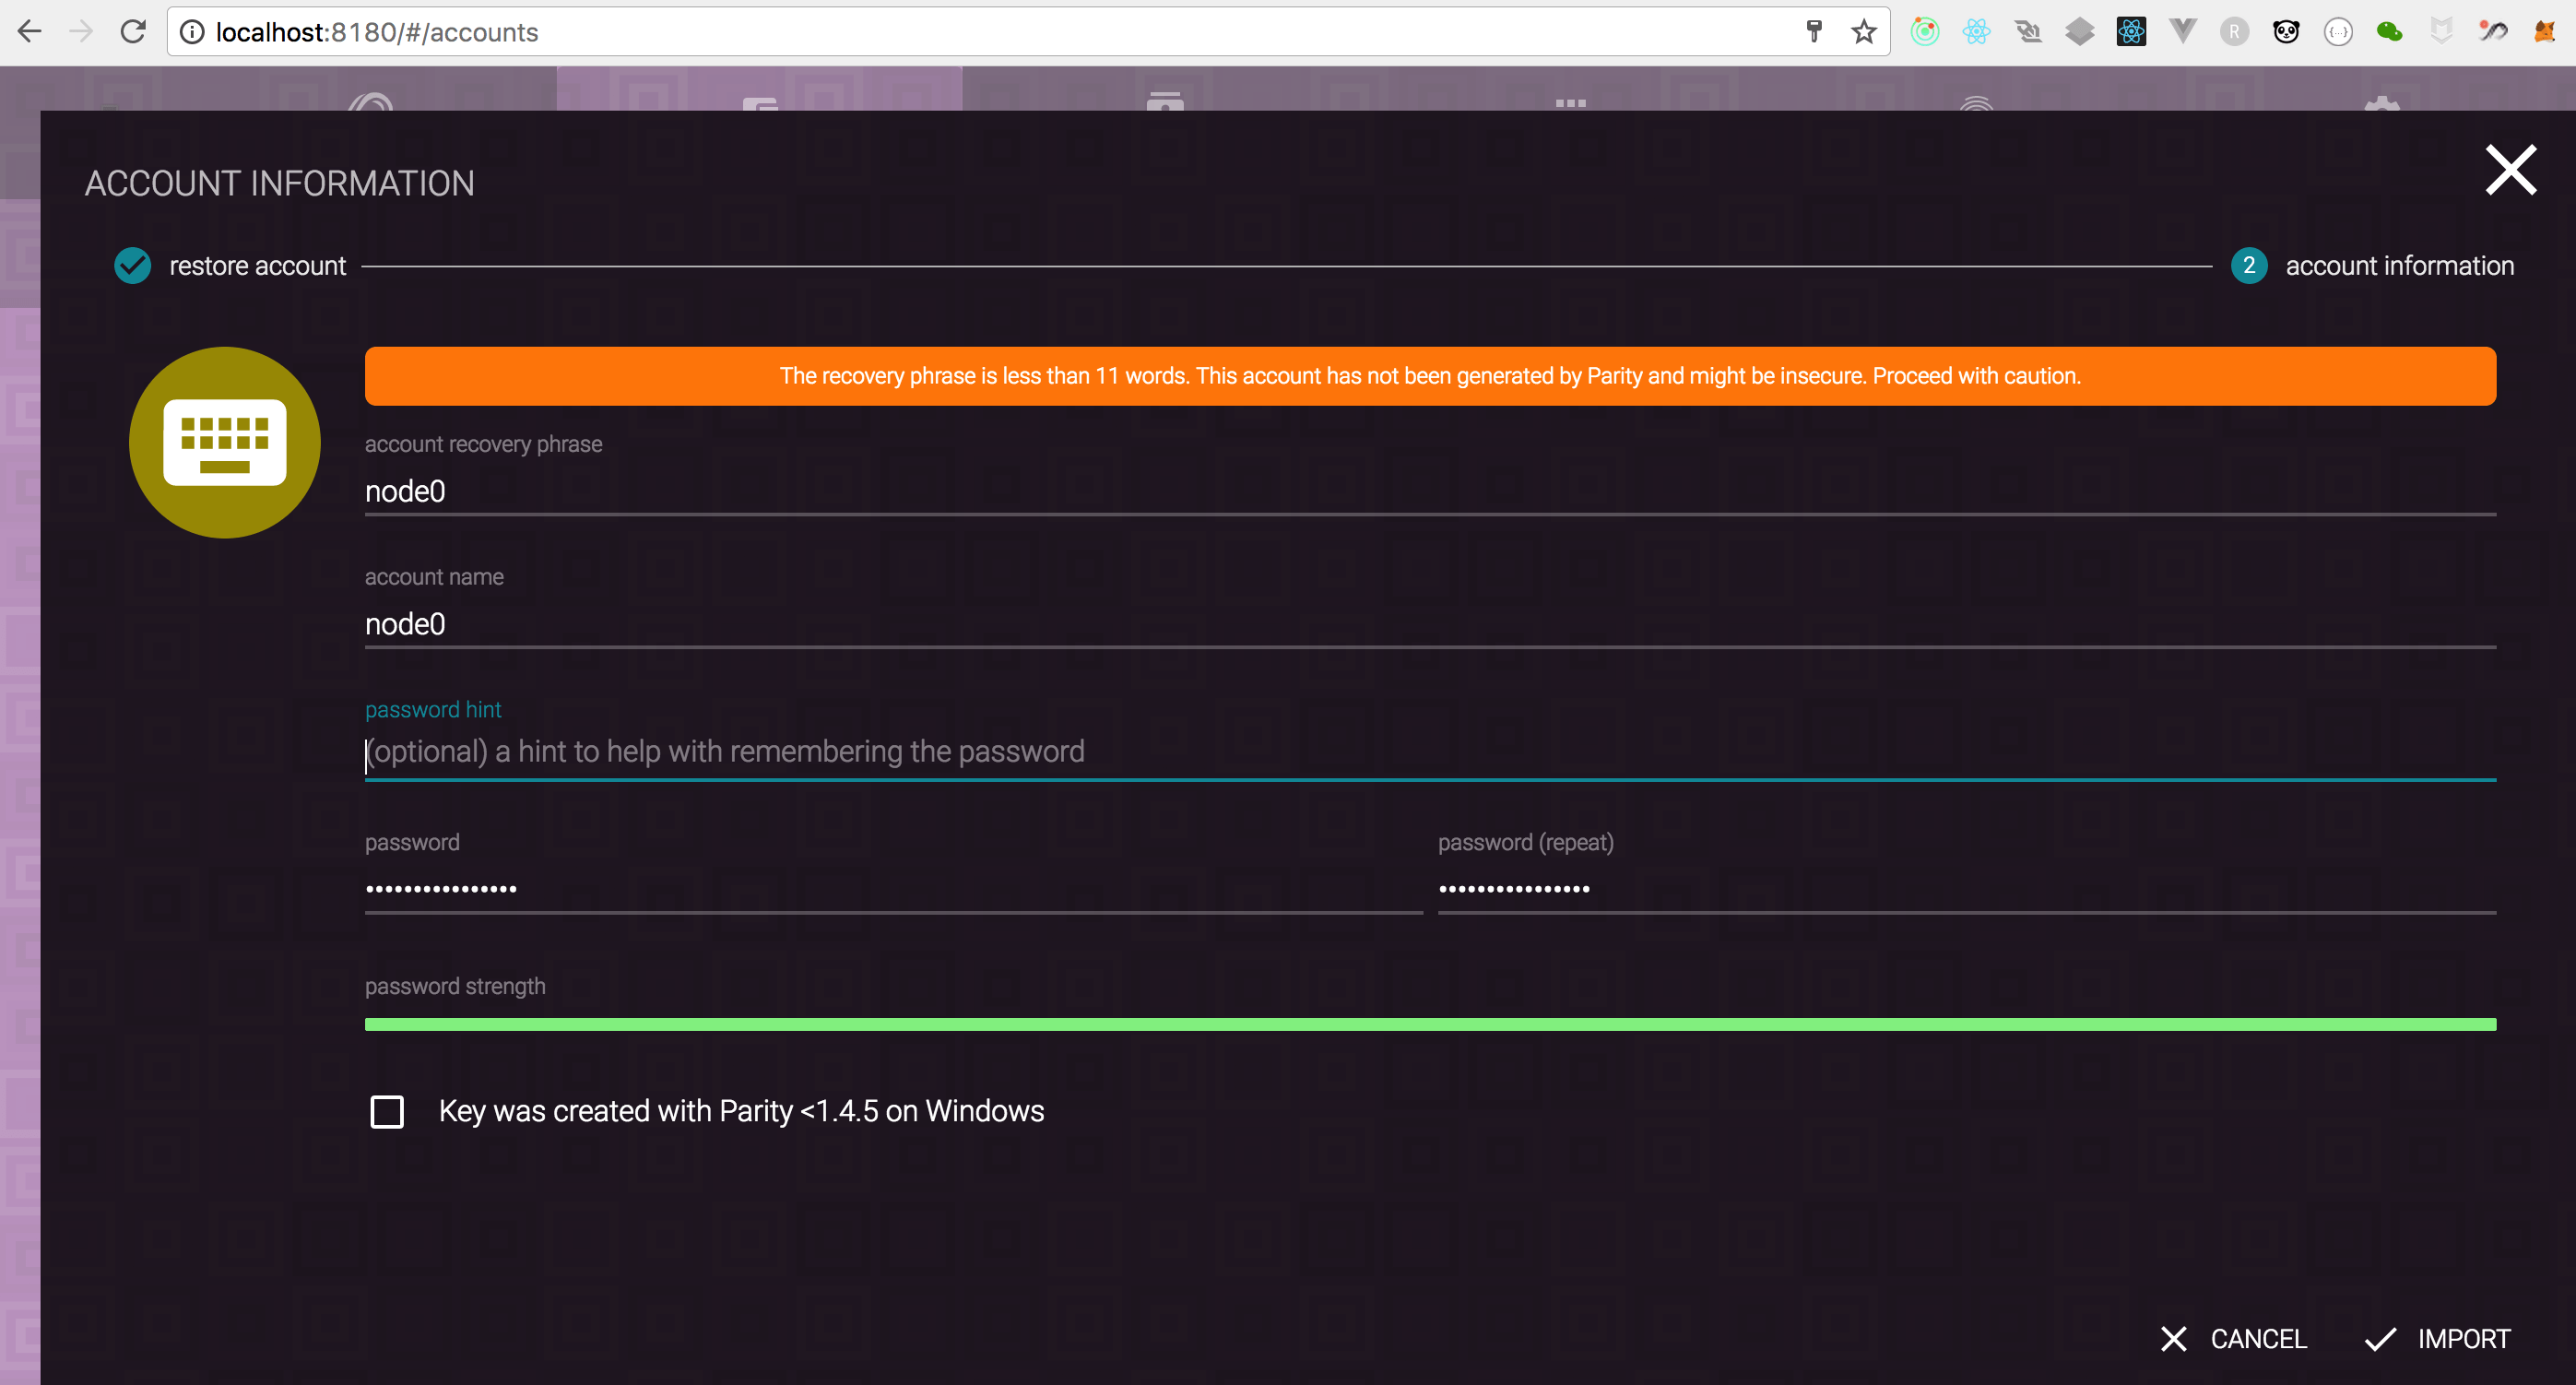
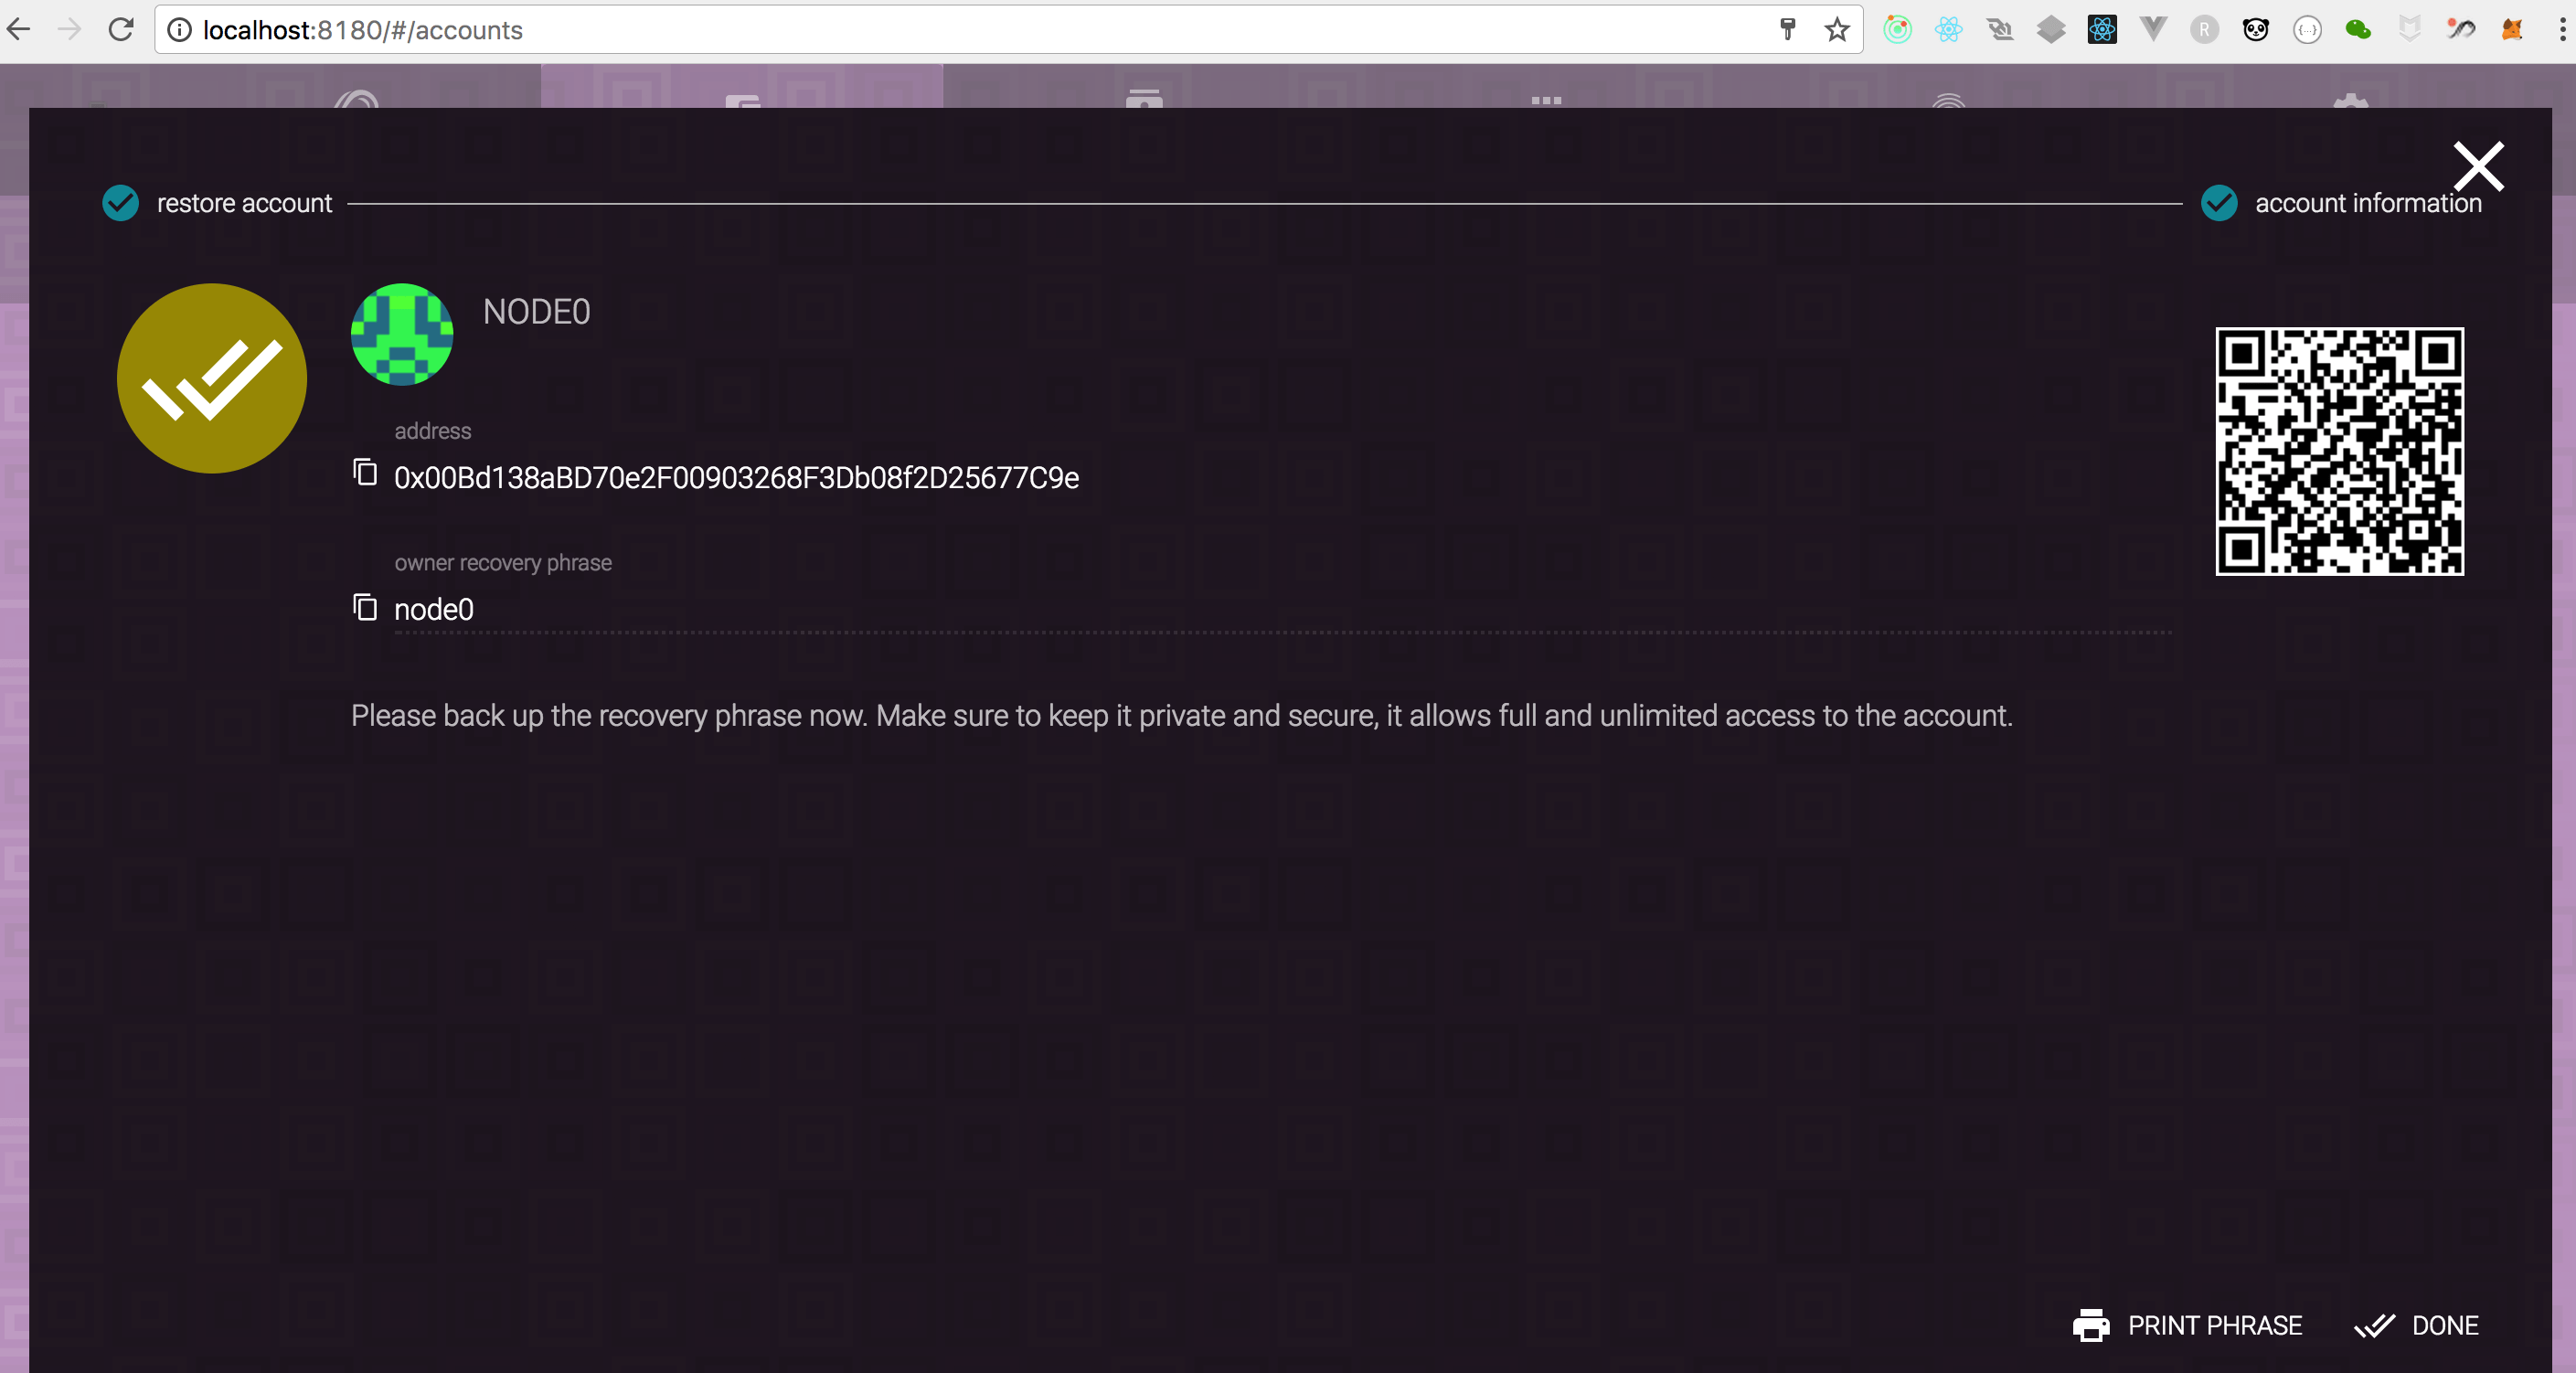
到目前为止我们已经完成
node0
的账号设置。
-
Authority account:
0x00Bd138aBD70e2F00903268F3Db08f2D25677C9e -
User account:
0x0064B0999c0142eE99aB0ceC054BAb53fe0a3EcC
第二步:
设置
node1
的账号,启动
parity --config node1.toml
。步骤相同,连接到
http://localhost:8181
,
pass phrase
使用
node1
。
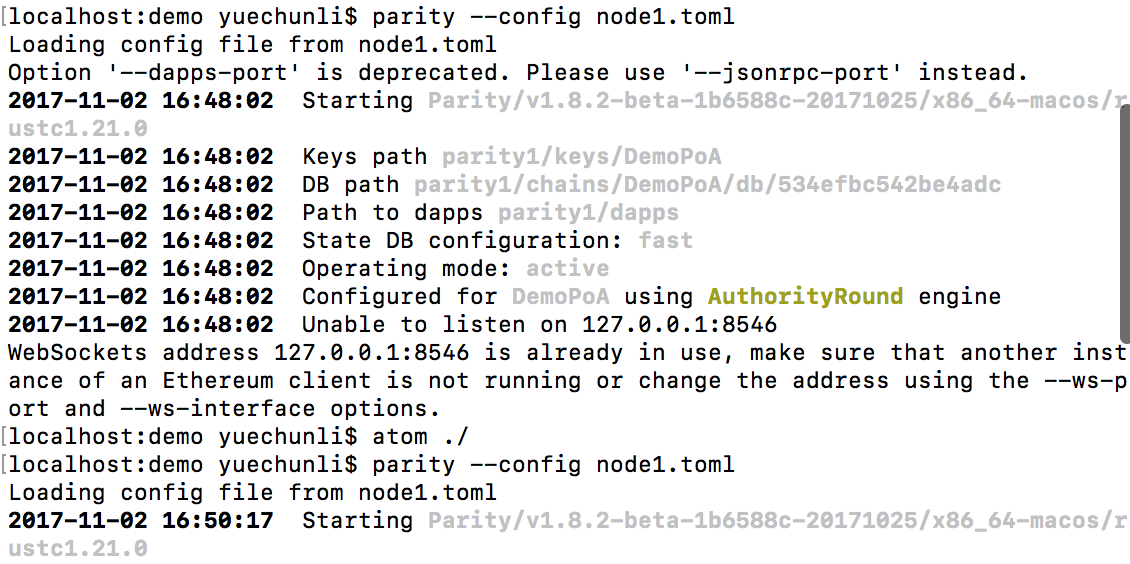

这样就完成了
node1
的账号设置。
-
Authority account:
0x00F9B30838ca40c8A53c672840acbDec6fCDb180
第三步: 将Authority account 写入 demo-spec.json 文件
"validators": { "list": [ "0x00F9B30838ca40c8A53c672840acbDec6fCDb180", "0x00Bd138aBD70e2F00903268F3Db08f2D25677C9e" ]}
user account
加入
accounts
,並给一些
balance
,后续可以使用。
"0x0064B0999c0142eE99aB0ceC054BAb53fe0a3EcC": { "balance": "10000000000000000000000"}
demo-spec.json
如下:
{ "name": "DemoPoA", "engine": { "authorityRound": { "params": { "stepDuration": "5", "validators": { "list": [ "0x00F9B30838ca40c8A53c672840acbDec6fCDb180", "0x00Bd138aBD70e2F00903268F3Db08f2D25677C9e" ] } } } }, "params": { "gasLimitBoundDivisor": "0x0400", "maximumExtraDataSize": "0x20", "minGasLimit": "0x1388", "networkID": "0x2323" }, "genesis": { "seal": { "authorityRound": { "step": "0x0", "signature": "0x0000000000000000000000000000000000000000000000000000000000000000000000000000000000000000000000000000000000000000000000000000000000" } }, "difficulty": "0x20000", "gasLimit": "0x5B8D80" }, "accounts": { "0x0000000000000000000000000000000000000001": { "balance": "1", "builtin": { "name": "ecrecover", "pricing": { "linear": { "base": 3000, "word": 0 } } } }, "0x0000000000000000000000000000000000000002": { "balance": "1", "builtin": { "name": "sha256", "pricing": { "linear": { "base": 60, "word": 12 } } } }, "0x0000000000000000000000000000000000000003": { "balance": "1", "builtin": { "name": "ripemd160", "pricing": { "linear": { "base": 600, "word": 120 } } } }, "0x0064B0999c0142eE99aB0ceC054BAb53fe0a3EcC": { "balance": "10000000000000000000000" }, "0x0000000000000000000000000000000000000004": { "balance": "1", "builtin": { "name": "identity", "pricing": { "linear": { "base": 15, "word": 3 } } } } }}五、启动Authority node
为了启动
Authority node
来产生区块,我们必须设定负责产生
block
的
signer
,分別是
node0
和
node1 account
。
1、第一步,创建一个
node.pwds
文件,写入
node0
与
node1
的
password
,内容如下:
node0node12、第二步,在node0.toml文件中加入[account]及[mining]设置,如下:
[parity]chain = "demo-spec.json"base_path = "parity0"[network]port = 30300[rpc]port = 8540apis = ["web3", "eth", "net", "personal", "parity", "parity_set", "traces", "rpc", "parity_accounts"][ui]port = 8180[account]password = ["node.pwds"][mining]engine_signer = "0x00Bd138aBD70e2F00903268F3Db08f2D25677C9e"reseal_on_txs = "none"3、第三步,在node1.toml文件中加入[account]及[mining]设置,如下:
[parity]chain = "demo-spec.json"base_path = "parity1"[network]port = 30301[rpc]port = 8541apis = ["web3", "eth", "net", "personal", "parity", "parity_set", "traces", "rpc", "parity_accounts"][ui]port = 8181[websockets]port = 8457[account]password = ["node.pwds"][mining]engine_signer = "0x00F9B30838ca40c8A53c672840acbDec6fCDb180"reseal_on_txs = "none"4、第四步,Step 4 分別启动两个node
parity --config node0.tomlparity --config node1.toml六、连接两个节点
使用
Postman
透过
JSON RPC
来测试。
1、第一步,Post下列JSON数据至 http://localhost:8540 以取得 node0 的enode资料
{ "jsonrpc":"2.0", "method":"parity_enode", "params":[], "id":0}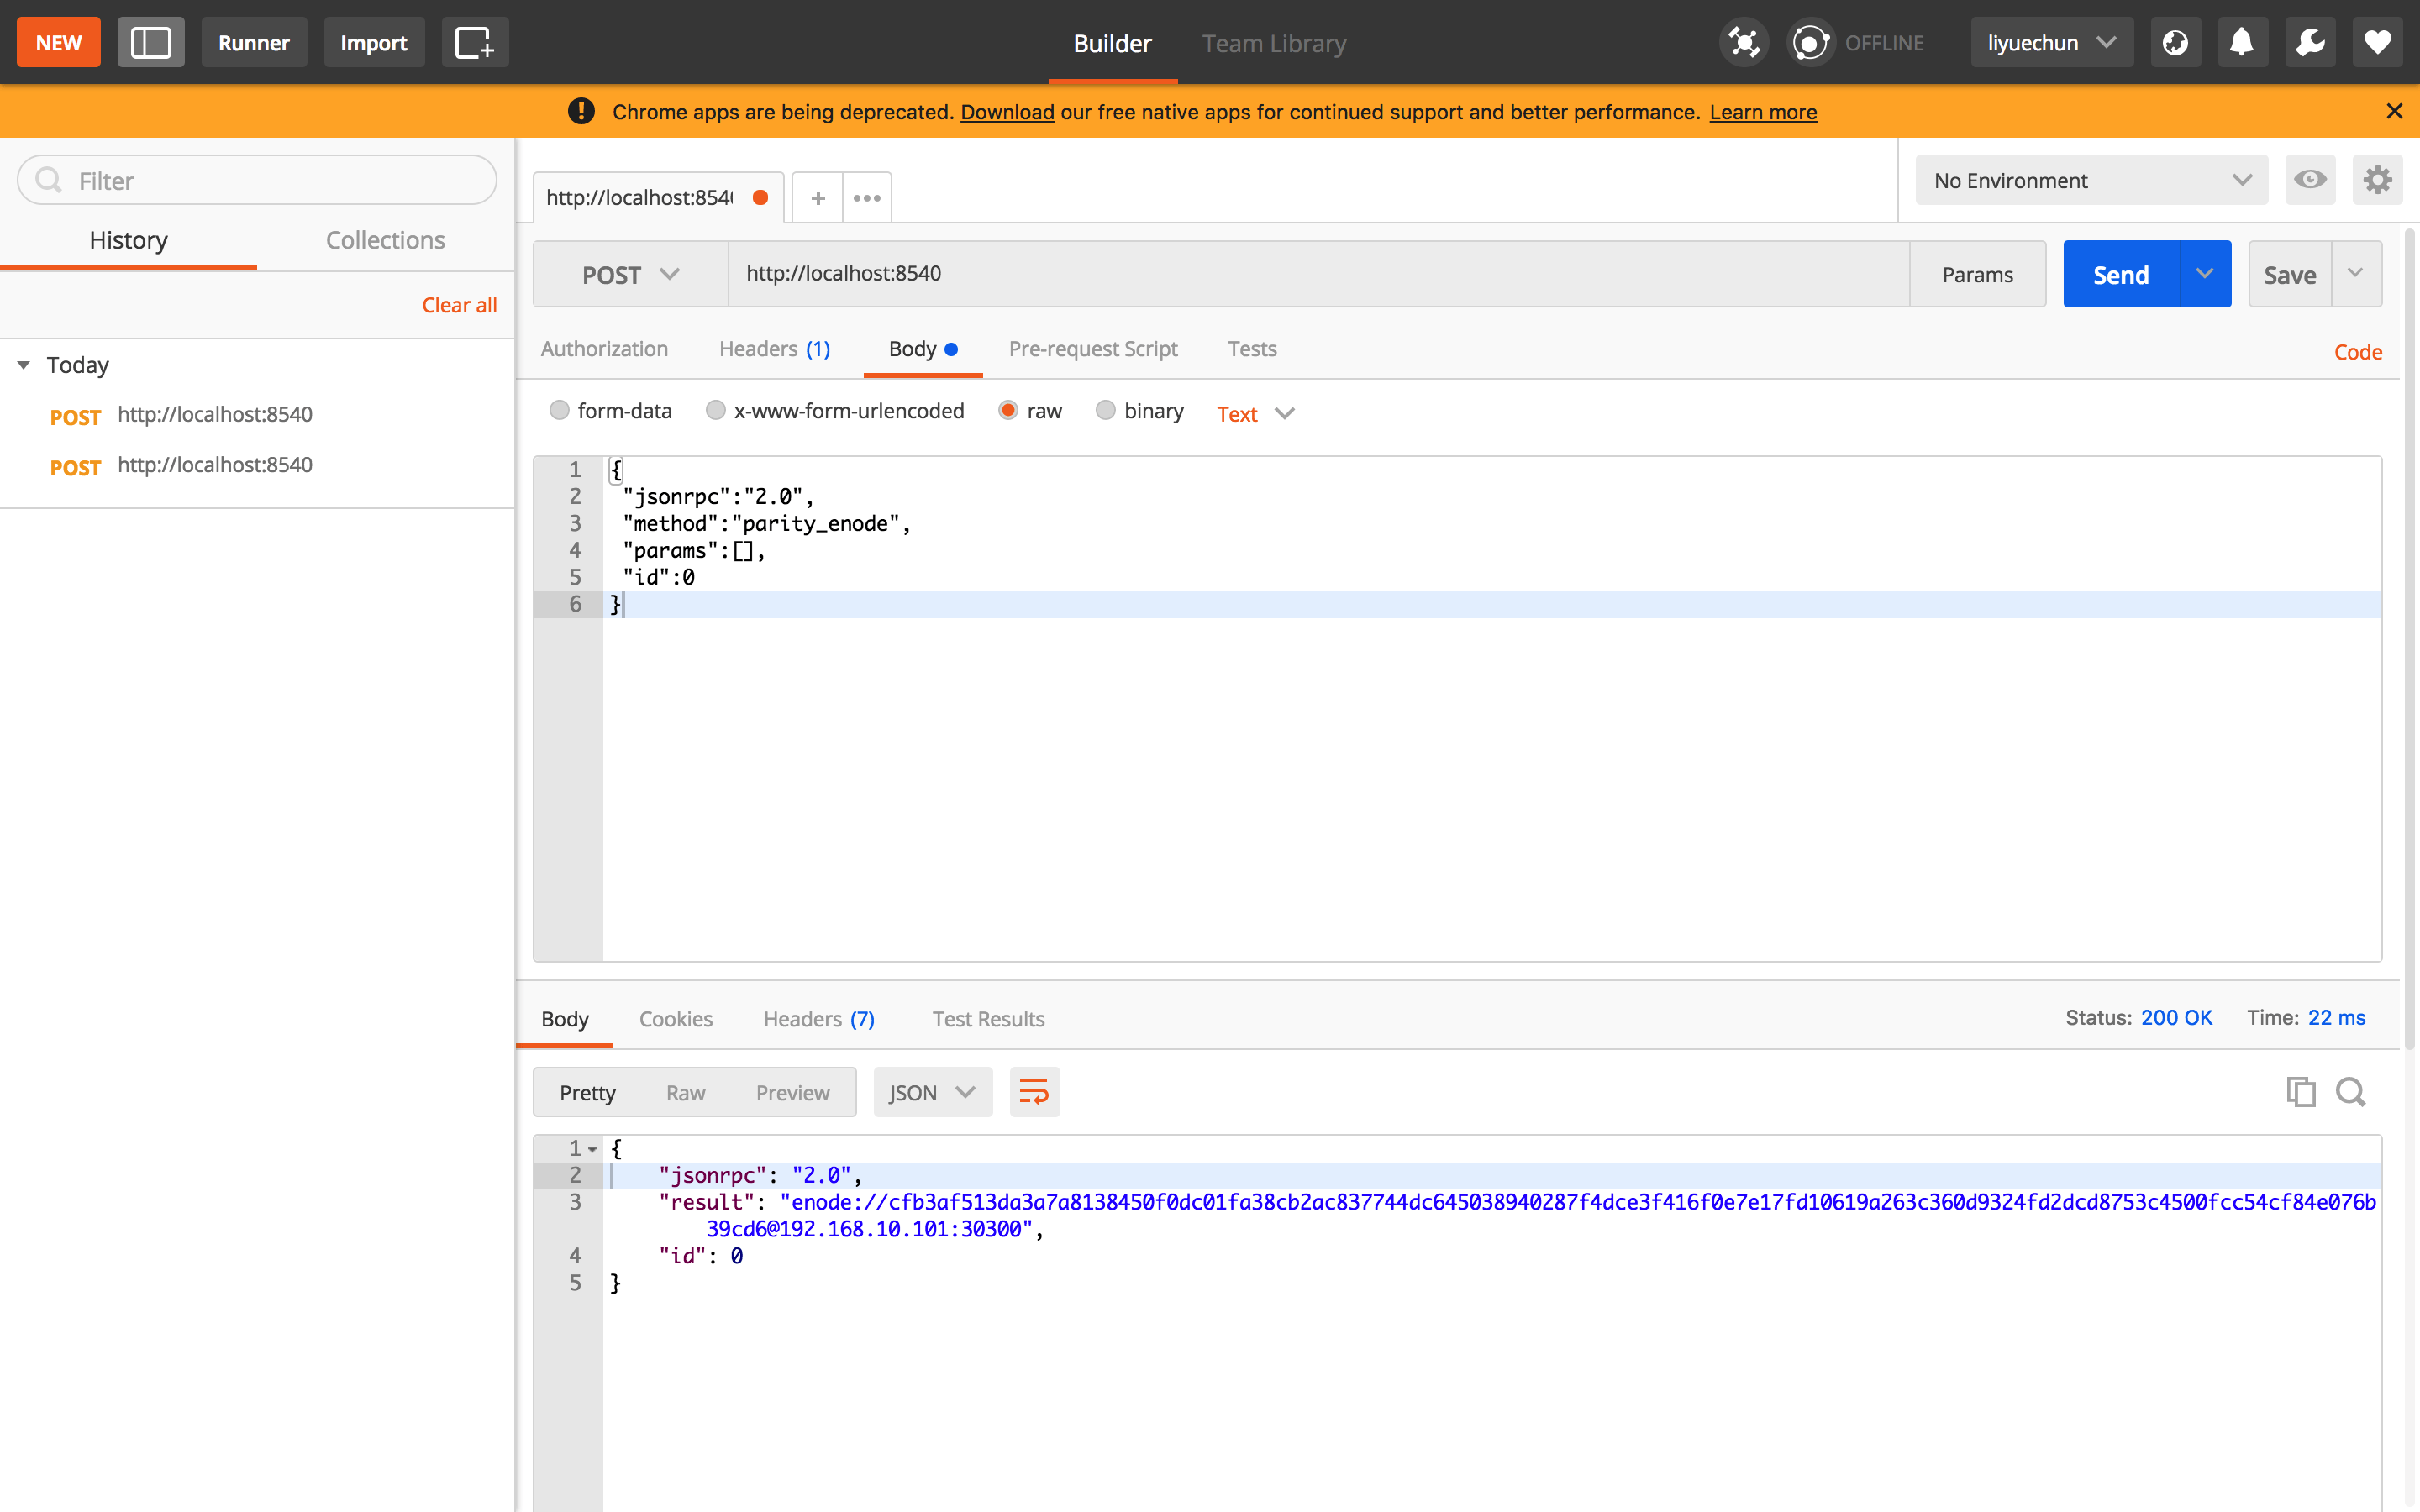
获取到的数据如下:
{ "jsonrpc": "2.0", "result": "enode://cfb3af513da3a7a8138450f0dc01fa38cb2ac837744dc645038940287f4dce3f416f0e7e17fd10619a263c360d9324fd2dcd8753c4500fcc54cf84e076b39cd6@192.168.10.101:30300", "id": 0}
"enode://cfb3af513da3a7a8138450f0dc01fa38cb2ac837744dc645038940287f4dce3f416f0e7e17fd10619a263c360d9324fd2dcd8753c4500fcc54cf84e076b39cd6@192.168.10.101:30300"
是
node0
的标识。下一步中我们将将它加入到
node1
中以实现两个节点之间的连接。

专访 Mable Jiang:复盘 Multicoin 投资方法论与 DeFi 洞察
原文标题:《对话 Mable:复盘 Multicoin Capital 的投资方法论与 DeFi 观察 | 链捕手》受访者:Mable Jiang,Multicoin Capital 执行董事撰文:王...

信标链、PoS、分片……接触以太坊 2.0 得先理解这些术语
原文标题:《以太坊 2.0 术语库》整理:ETH 中文网Attestation 证明证明是指验证者所发起的投票,由验证者的签名聚合而成,用以证明区块的有效性,投票通过验证者的余额进行加权。Attest...

手把手教你搭建 IPFS 私有网络
在联盟链的场景下,IPFS 作为去中心化存储的首选方案,本文将介绍如何使用 go-ipfs 搭建一个私有网络并进行简单使用。...


